Learning Webflow, a powerful no-code web design tool, can be an exciting journey, and at LEARNS.EDU.VN, we understand you’re eager to build stunning websites. The timeline to master Webflow varies depending on your goals and dedication; however, a solid understanding can be achieved within weeks to months, with continuous learning being key to unlocking its full potential. By exploring the fundamental concepts, engaging in consistent practice, and leveraging resources like Webflow University, you’ll be well on your way to mastering web design and development, design skills, and digital marketing with Webflow.
1. What Is Webflow and Why Learn It?
Webflow is a leading visual web design platform that empowers individuals and teams to create responsive, custom websites without writing code. Its drag-and-drop interface and robust features make it an attractive option for designers, marketers, and entrepreneurs alike.
1.1. Key Benefits of Learning Webflow
- No-Code Development: Build websites visually without needing to write code.
- Custom Design: Create unique and responsive designs tailored to your brand.
- CMS Integration: Manage content seamlessly with Webflow’s built-in content management system.
- SEO-Friendly: Optimize your sites for search engines with built-in SEO tools.
- Fast Prototyping: Quickly prototype and iterate on designs, saving time and resources.
- E-commerce Capabilities: Build and manage online stores with Webflow E-commerce.
1.2. Who Should Learn Webflow?
- Designers: Webflow allows designers to bring their visions to life without relying on developers.
- Marketers: Create landing pages, marketing sites, and campaigns with ease and speed.
- Entrepreneurs: Build and launch websites quickly and cost-effectively.
- Developers: Webflow can streamline development workflows and enable faster prototyping.
- Students: Gain valuable web design skills for career advancement.
2. Understanding the Learning Curve: How Long Does It Really Take?
The time it takes to learn Webflow varies widely depending on your prior experience, learning style, and the complexity of the projects you aim to build. Here’s a breakdown of what you can expect at different stages:
2.1. The Basics: 1-2 Weeks
- What to Learn:
- Webflow interface and navigation
- Basic elements (containers, sections, divs, etc.)
- Typography and styling
- Layouts and grids
- Basic interactions and animations
- What to Expect: You’ll be able to create simple landing pages and basic websites.
2.2. Intermediate: 2-6 Months
- What to Learn:
- Webflow CMS (Content Management System)
- Dynamic content and collections
- Advanced interactions and animations
- Responsive design techniques
- Basic SEO optimization
- Working with forms and user input
- What to Expect: You’ll be able to build more complex websites with dynamic content, blogs, and e-commerce functionality.
2.3. Advanced: 6+ Months
- What to Learn:
- Webflow E-commerce
- Custom code integration (HTML, CSS, JavaScript)
- API integrations
- Advanced SEO strategies
- Performance optimization
- Team collaboration and workflows
- What to Expect: You’ll be able to build enterprise-level websites with custom functionality, integrations, and advanced optimization.
2.4. Factors Affecting the Learning Timeline
Several factors can influence how quickly you learn Webflow:
- Prior Experience: If you have experience with web design, HTML, CSS, or other design tools, you’ll likely learn Webflow faster.
- Learning Style: Some people learn best by watching videos, while others prefer hands-on practice. Choose learning resources that align with your style.
- Time Commitment: The more time you dedicate to learning Webflow, the faster you’ll progress.
- Project Complexity: Starting with simple projects and gradually increasing complexity can help you build a strong foundation.
- Community Engagement: Actively participating in the Webflow community can provide valuable support and insights.
- Educational Resources: The quality of educational resources you’re using will affect the learning time. LEARNS.EDU.VN provides high-quality educational content that can shorten the learning curve.
2.5. Time Investment Breakdown
| Skill Level | Time to Achieve | Expected Capabilities |
|---|---|---|
| Basic | 1-2 Weeks (5-10 hours/week) | Simple landing pages, basic website layouts, styling elements. |
| Intermediate | 2-6 Months (10-20 hours/week) | CMS integration, dynamic content, responsive designs, intermediate interactions. |
| Advanced | 6+ Months (20+ hours/week) | E-commerce sites, custom code integration, API integrations, advanced SEO, performance optimization. |
| Expert | Ongoing (Continuous learning and project practice) | Complex enterprise-level sites, mastery of Webflow’s ecosystem. |
3. Step-by-Step Guide to Learning Webflow
Here’s a structured approach to learning Webflow, from beginner to advanced:
3.1. Step 1: Start with the Fundamentals
- Webflow University: Begin with Webflow’s official learning platform. It offers comprehensive courses and tutorials covering the basics of the platform.
- Interface and Navigation: Familiarize yourself with the Webflow Designer interface, including the toolbar, canvas, and panels.
- Basic Elements: Learn how to add and style basic elements like containers, sections, divs, headings, paragraphs, and images.
- Typography: Understand how to control typography using Webflow’s styling options, including font families, sizes, weights, and line heights.
- Layouts: Explore different layout techniques, such as flexbox and grid, to create responsive and visually appealing designs.
3.2. Step 2: Practice with Projects
- Recreate Existing Websites: Choose simple websites you admire and try to recreate them in Webflow. This will help you understand how different elements and layouts are constructed.
- Build a Personal Portfolio: Create a portfolio website to showcase your skills and projects. This is a great way to apply what you’ve learned and create something tangible.
- Design a Landing Page: Design a landing page for a fictional product or service. Focus on creating a compelling design with clear calls to action.
- Cloneable Projects: Utilize Webflow’s “Made in Webflow” showcase to find cloneable projects and dissect how they were built.
3.3. Step 3: Dive into Dynamic Content and CMS
- Webflow CMS: Learn how to use Webflow’s CMS to manage dynamic content, such as blog posts, articles, and product listings.
- Collections: Create collections to store and organize your content.
- Dynamic Lists: Use dynamic lists to display content from your collections on your website.
- Filtering and Sorting: Implement filtering and sorting to allow users to easily find the content they’re looking for.
3.4. Step 4: Master Interactions and Animations
- Triggers and Actions: Understand how to use triggers (e.g., hover, click, scroll) to initiate actions (e.g., animations, transitions, state changes).
- Webflow Interactions: Experiment with Webflow’s built-in interactions to create engaging and interactive experiences.
- Custom Animations: Create custom animations using Webflow’s animation tools to add unique touches to your designs.
- Performance: Optimize your interactions and animations to ensure they don’t negatively impact your website’s performance.
3.5. Step 5: Explore E-commerce Functionality
- Webflow E-commerce: Learn how to use Webflow E-commerce to build and manage online stores.
- Product Listings: Create product listings with descriptions, images, and pricing.
- Shopping Cart: Set up a shopping cart to allow customers to add products to their orders.
- Checkout Process: Configure the checkout process, including shipping options, payment gateways, and order confirmation.
3.6. Step 6: Integrate Custom Code
- HTML Embedding: Learn how to embed custom HTML code into your Webflow projects.
- CSS Styling: Use custom CSS to override or extend Webflow’s styling options.
- JavaScript Interactions: Implement custom JavaScript code to create advanced interactions and functionality.
- Third-Party Libraries: Integrate third-party JavaScript libraries to add features like sliders, maps, and social media feeds.
3.7. Step 7: Optimize for SEO
- On-Page SEO: Optimize your website’s content, meta tags, and headings for search engines.
- Keyword Research: Conduct keyword research to identify the terms people are using to find your website.
- Mobile Optimization: Ensure your website is mobile-friendly and responsive.
- Site Speed: Optimize your website’s speed and performance to improve search engine rankings.
3.8. Step 8: Continuous Learning and Community Engagement
- Stay Updated: Webflow is constantly evolving, so stay updated on the latest features and best practices.
- Community Forums: Participate in the Webflow community forums to ask questions, share your knowledge, and connect with other users.
- Online Courses: Take online courses to deepen your understanding of specific Webflow topics.
- Attend Events: Attend Webflow events and conferences to learn from industry experts and network with other professionals.
4. Webflow vs. Other Website Builders
Webflow is just one of many website builders available today. Here’s a comparison to help you understand its strengths and weaknesses:
| Feature | Webflow | WordPress | Wix |
|---|---|---|---|
| Design Flexibility | Highly customizable, pixel-perfect control | Customizable with themes and plugins, but can require coding | Limited customization, drag-and-drop interface |
| Ease of Use | Steeper learning curve, but powerful once mastered | Moderate learning curve, requires understanding of themes and plugins | Easy to use, drag-and-drop interface |
| CMS | Integrated CMS, easy to manage dynamic content | Requires plugins for CMS functionality | Limited CMS capabilities |
| SEO | Built-in SEO tools, clean code | Requires plugins for SEO optimization | SEO tools available, but can be limited |
| E-commerce | Webflow E-commerce platform, flexible and scalable | Requires plugins like WooCommerce | Wix E-commerce platform, easy to set up |
| Pricing | Subscription-based, can be more expensive than other options | Free (with self-hosting), but costs can add up with themes and plugins | Subscription-based, various plans available |
| Target Audience | Designers, marketers, and developers | Bloggers, businesses, and developers | Beginners and small businesses |
5. Learning Webflow Requires Going Beyond Webflow Designer
5.1. The Importance of a Holistic Approach
Learning Webflow involves more than just mastering the Webflow Designer. A successful Webflow project requires a comprehensive understanding of various stages, from planning to launch. By following a structured approach, you can ensure that your Webflow projects are not only visually appealing but also functional, user-friendly, and optimized for success.
5.2. Stages of Building a Website from Scratch via Webflow
-
Discovery Phase:
- Purpose: This initial stage involves understanding the project’s goals, target audience, and requirements.
- Activities:
- Define Objectives: Clearly outline the website’s purpose, such as generating leads, selling products, or providing information.
- Target Audience: Identify the demographics, interests, and behaviors of the intended users.
- Requirements Gathering: Collect detailed specifications for the website’s features, content, and functionality.
- Deliverables:
- Project scope document
- User personas
- Requirements list
-
Design Phase:
- Purpose: This stage focuses on creating the visual and user experience (UX) design of the website.
- Activities:
- Wireframing: Create low-fidelity wireframes to map out the website’s structure and layout.
- Mockups: Develop high-fidelity mockups to visualize the website’s design, including colors, typography, and imagery.
- Prototyping: Build interactive prototypes to test the user experience and gather feedback.
- Deliverables:
- Wireframes
- Mockups
- Interactive prototypes
-
Development Phase:
- Purpose: This stage involves building the actual website using Webflow’s tools and features.
- Activities:
- Webflow Designer: Use Webflow’s visual interface to create the website’s structure, layout, and styling.
- CMS Integration: Connect the website to Webflow’s CMS to manage dynamic content.
- Interactions and Animations: Add interactive elements and animations to enhance the user experience.
- Deliverables:
- Functional Webflow website
- CMS integration
- Interactive elements
-
Review Phase:
- Purpose: This stage focuses on testing and refining the website to ensure it meets the project’s requirements.
- Activities:
- Cross-Browser Testing: Test the website on different browsers and devices to ensure compatibility.
- Usability Testing: Conduct usability testing to gather feedback from users and identify areas for improvement.
- Performance Testing: Test the website’s speed and performance to ensure it loads quickly and efficiently.
- Deliverables:
- Bug fixes
- Usability improvements
- Performance optimizations
-
Migration and Launch Phase:
- Purpose: This final stage involves launching the website to the public and ensuring it functions properly.
- Activities:
- Domain Setup: Connect the website to a domain name.
- Hosting Configuration: Configure the website’s hosting settings.
- Launch Checklist: Follow a launch checklist to ensure all necessary steps are completed.
- Post-Launch Monitoring: Monitor the website’s performance and address any issues that arise.
- Deliverables:
- Live website
- Domain and hosting configuration
- Post-launch monitoring
6. How to Learn Webflow? Best Sources for Mastering the Popular Website Builder
6.1. Free Resources:
- Webflow University: The official Webflow learning platform, offering courses, tutorials, and documentation for all skill levels.
- Webflow Blog: Provides articles, case studies, and industry insights related to web design and development.
- Webflow Forums: A community forum where you can ask questions, share your work, and connect with other Webflow users.
- YouTube Channels: Many creators offer free Webflow tutorials and guides on YouTube.
- Made in Webflow: Explore and clone existing Webflow projects to learn from others.
6.2. Paid Resources:
- Webflow Experts: Hire a Webflow expert for one-on-one training or project assistance.
- Online Courses: Platforms like Udemy, Coursera, and Skillshare offer paid Webflow courses.
- Templates: Purchase pre-designed Webflow templates to jumpstart your projects and learn from their structure.
- Webflow Conferences: Attend Webflow conferences and workshops to learn from industry leaders and network with other professionals.
6.3. Learning Resources Comparison
| Resource | Cost | Skill Level | Content |
|---|---|---|---|
| Webflow University | Free | All Levels | Comprehensive tutorials, courses, and documentation. |
| Webflow Blog | Free | All Levels | Articles, case studies, and industry insights. |
| Webflow Forums | Free | All Levels | Community support, Q&A, and feedback. |
| YouTube Channels | Free | All Levels | Tutorials and guides by various creators. |
| Made in Webflow | Free | All Levels | Cloneable projects to learn from. |
| Webflow Experts | Paid | All Levels | One-on-one training and project assistance. |
| Online Courses | Paid | All Levels | Structured courses with in-depth content. |
| Webflow Templates | Paid | All Levels | Pre-designed templates for various project types. |
| Webflow Conferences | Paid | All Levels | Workshops, keynotes, and networking opportunities. |
| LEARNS.EDU.VN Courses | Paid/Free | All Levels | Structured learning paths, expert instructors, community support. |
6.4. A Word About Webflow University
Webflow University is more than just a collection of tutorials; it’s a structured learning environment designed to take you from a complete beginner to a confident Webflow user. The platform’s comprehensive curriculum, hands-on exercises, and supportive community make it an ideal starting point for anyone looking to master Webflow.
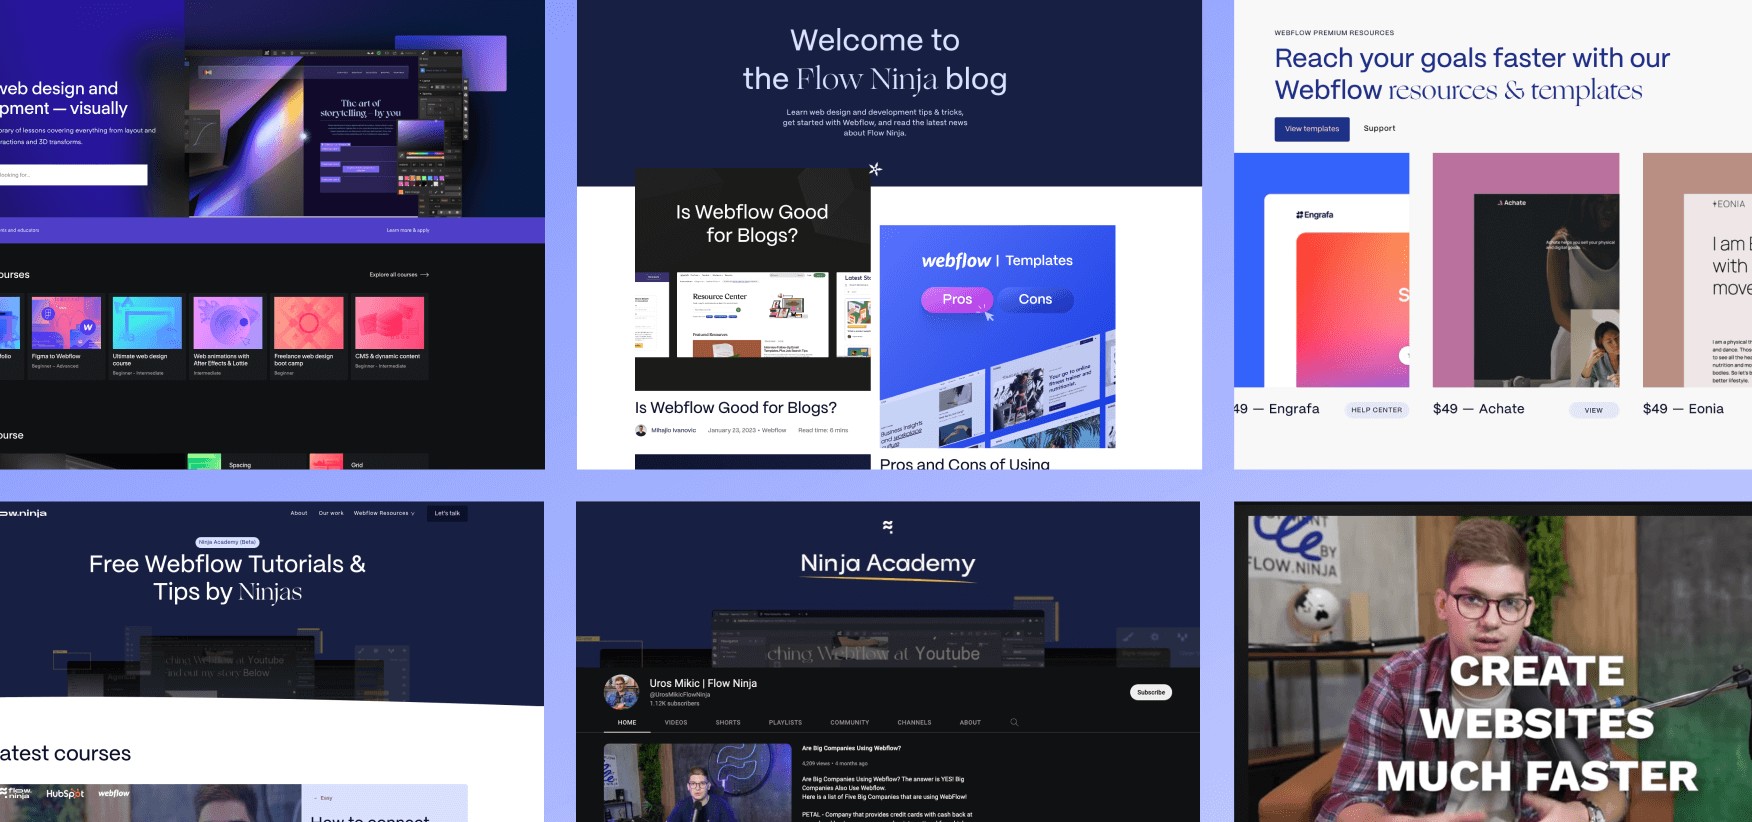 Webflow Learning Sources
7. Tips and Best Practices for Learning Webflow
7.1. Establish a Solid Foundation
Before diving into complex projects, ensure you have a strong grasp of the fundamentals of Webflow, including the interface, basic elements, and layout techniques. This will make it easier to tackle more advanced topics later on.
7.2. Set Realistic Goals
Break down your learning journey into smaller, manageable goals. For example, aim to learn a specific feature or technique each week, and track your progress along the way.
7.3. Practice Regularly
Consistency is key when learning Webflow. Dedicate regular time each week to practice and experiment with the platform. Even just a few hours a week can make a big difference in your progress.
7.4. Find a Mentor or Study Buddy
Learning Webflow can be more enjoyable and effective with a mentor or study buddy. Connect with other learners or experienced professionals who can provide guidance, support, and feedback.
7.5. Deconstruct Existing Websites
Choose websites that you admire and try to recreate them in Webflow. This is a great way to learn from the designs of others and develop your own skills.
7.6. Use Webflow Templates
Webflow templates can be a valuable learning tool. Explore different templates to see how they are structured and how different elements and interactions are implemented.
7.7. Seek Inspiration
Stay inspired by browsing design websites, reading design books, and following design blogs. This will help you develop your own design sensibilities and come up with creative ideas for your Webflow projects.
7.8. Embrace Challenges
Don’t be afraid to tackle challenging projects or experiment with new features. This is how you’ll grow your skills and become a more confident Webflow user.
7.9. Showcase Your Work
Share your Webflow projects with the community and get feedback from others. This is a great way to learn from your mistakes and improve your skills.
7.10. Stay Up-to-Date
Webflow is constantly evolving, so it’s important to stay up-to-date on the latest features and best practices. Follow the Webflow blog, attend events, and participate in the community forums to stay informed.
8. Start Building Websites with Webflow
8.1. Embrace the Learning Process
Learning Webflow is a journey, not a destination. Be patient with yourself, celebrate your successes, and don’t get discouraged by setbacks. The more you practice and experiment, the more confident and skilled you’ll become.
8.2. Stay Persistent
Webflow development is just one step in creating online experiences using the popular low-code service. To truly master Webflow, one needs to take a deep dive into the platform’s other tools that can help you with content management, SEO, design, and much more.
8.3. Consider Webflow Templates
One should not forget about Webflow templates as a great tool for those who want to explore existing designs and adjust them for their user, saving some time in the process. For instance, if the user is building a professional portfolio website, they can choose from a range of templates that already include features such as a contact form, portfolio gallery, and blog sections.
8.4. Explore Webflow’s Ecosystem
Webflow offers a rich ecosystem of tools and resources to support your website-building efforts. Take advantage of Webflow’s CMS, E-commerce platform, and integration options to create powerful and dynamic websites.
8.5. Leverage Freelance Platforms
Webflow skills are in high demand, so consider offering your services as a freelancer. Platforms like Upwork, Fiverr, and Toptal connect Webflow developers with clients who need help building websites.
8.6. Build a Portfolio
Create a portfolio website to showcase your Webflow skills and projects. This will help you attract clients and employers who are looking for Webflow talent.
8.7. Stay Connected with the Webflow Community
The Webflow community is a valuable resource for support, inspiration, and networking. Stay connected with the community by participating in forums, attending events, and following Webflow influencers on social media.
9. FAQs about Learning Webflow
Q1: Is Webflow difficult to learn?
Webflow has a steeper learning curve than some other website builders, but it’s not insurmountable. With dedication and the right resources, anyone can learn Webflow.
Q2: Do I need to know coding to use Webflow?
No, Webflow is a no-code platform, meaning you can build websites without writing code. However, knowing HTML, CSS, and JavaScript can enhance your ability to customize and extend Webflow’s functionality.
Q3: How Long Does It Take To Learn Webflow?
The time it takes to learn Webflow depends on your prior experience, learning style, and the complexity of the projects you aim to build. However, a solid understanding can be achieved within weeks to months.
Q4: Is Webflow a good career choice?
Yes, Webflow skills are in high demand, and there are many career opportunities for Webflow developers and designers.
Q5: Can I use Webflow to build e-commerce websites?
Yes, Webflow E-commerce is a powerful platform for building and managing online stores.
Q6: How much does Webflow cost?
Webflow offers various pricing plans, including a free plan for basic websites. Paid plans offer more features and functionality.
Q7: What are the best resources for learning Webflow?
Webflow University, Webflow Blog, Webflow Forums, and YouTube are all excellent resources for learning Webflow.
Q8: Is Webflow better than WordPress?
Webflow and WordPress are both popular website builders, but they cater to different audiences. Webflow is better for designers and marketers who want complete control over their website’s design, while WordPress is better for bloggers and businesses who need a content-rich website with a large selection of plugins.
Q9: How do I stay up-to-date on Webflow’s latest features?
Follow the Webflow blog, attend Webflow events, and participate in the community forums to stay informed about the latest features and best practices.
Q10: Where can I find Webflow templates?
You can find Webflow templates on the Webflow website, as well as on third-party marketplaces like ThemeForest and Creative Market.
10. Conclusion: Your Webflow Journey Starts Now
Learning Webflow can be a rewarding experience that opens up new opportunities in web design and development. By following the steps outlined in this guide and utilizing the resources available to you, you can master Webflow and create stunning websites that meet your needs and goals.
Remember to start with the fundamentals, practice regularly, and stay connected with the Webflow community. With dedication and persistence, you can unlock the full potential of Webflow and build a successful career in web design.
Ready to take the next step? Visit LEARNS.EDU.VN to explore our comprehensive Webflow courses and resources. Our expert instructors and structured learning paths will help you master Webflow quickly and efficiently. Join our community today and start building your dream websites!
Contact Information:
- Address: 123 Education Way, Learnville, CA 90210, United States
- WhatsApp: +1 555-555-1212
- Website: learns.edu.vn