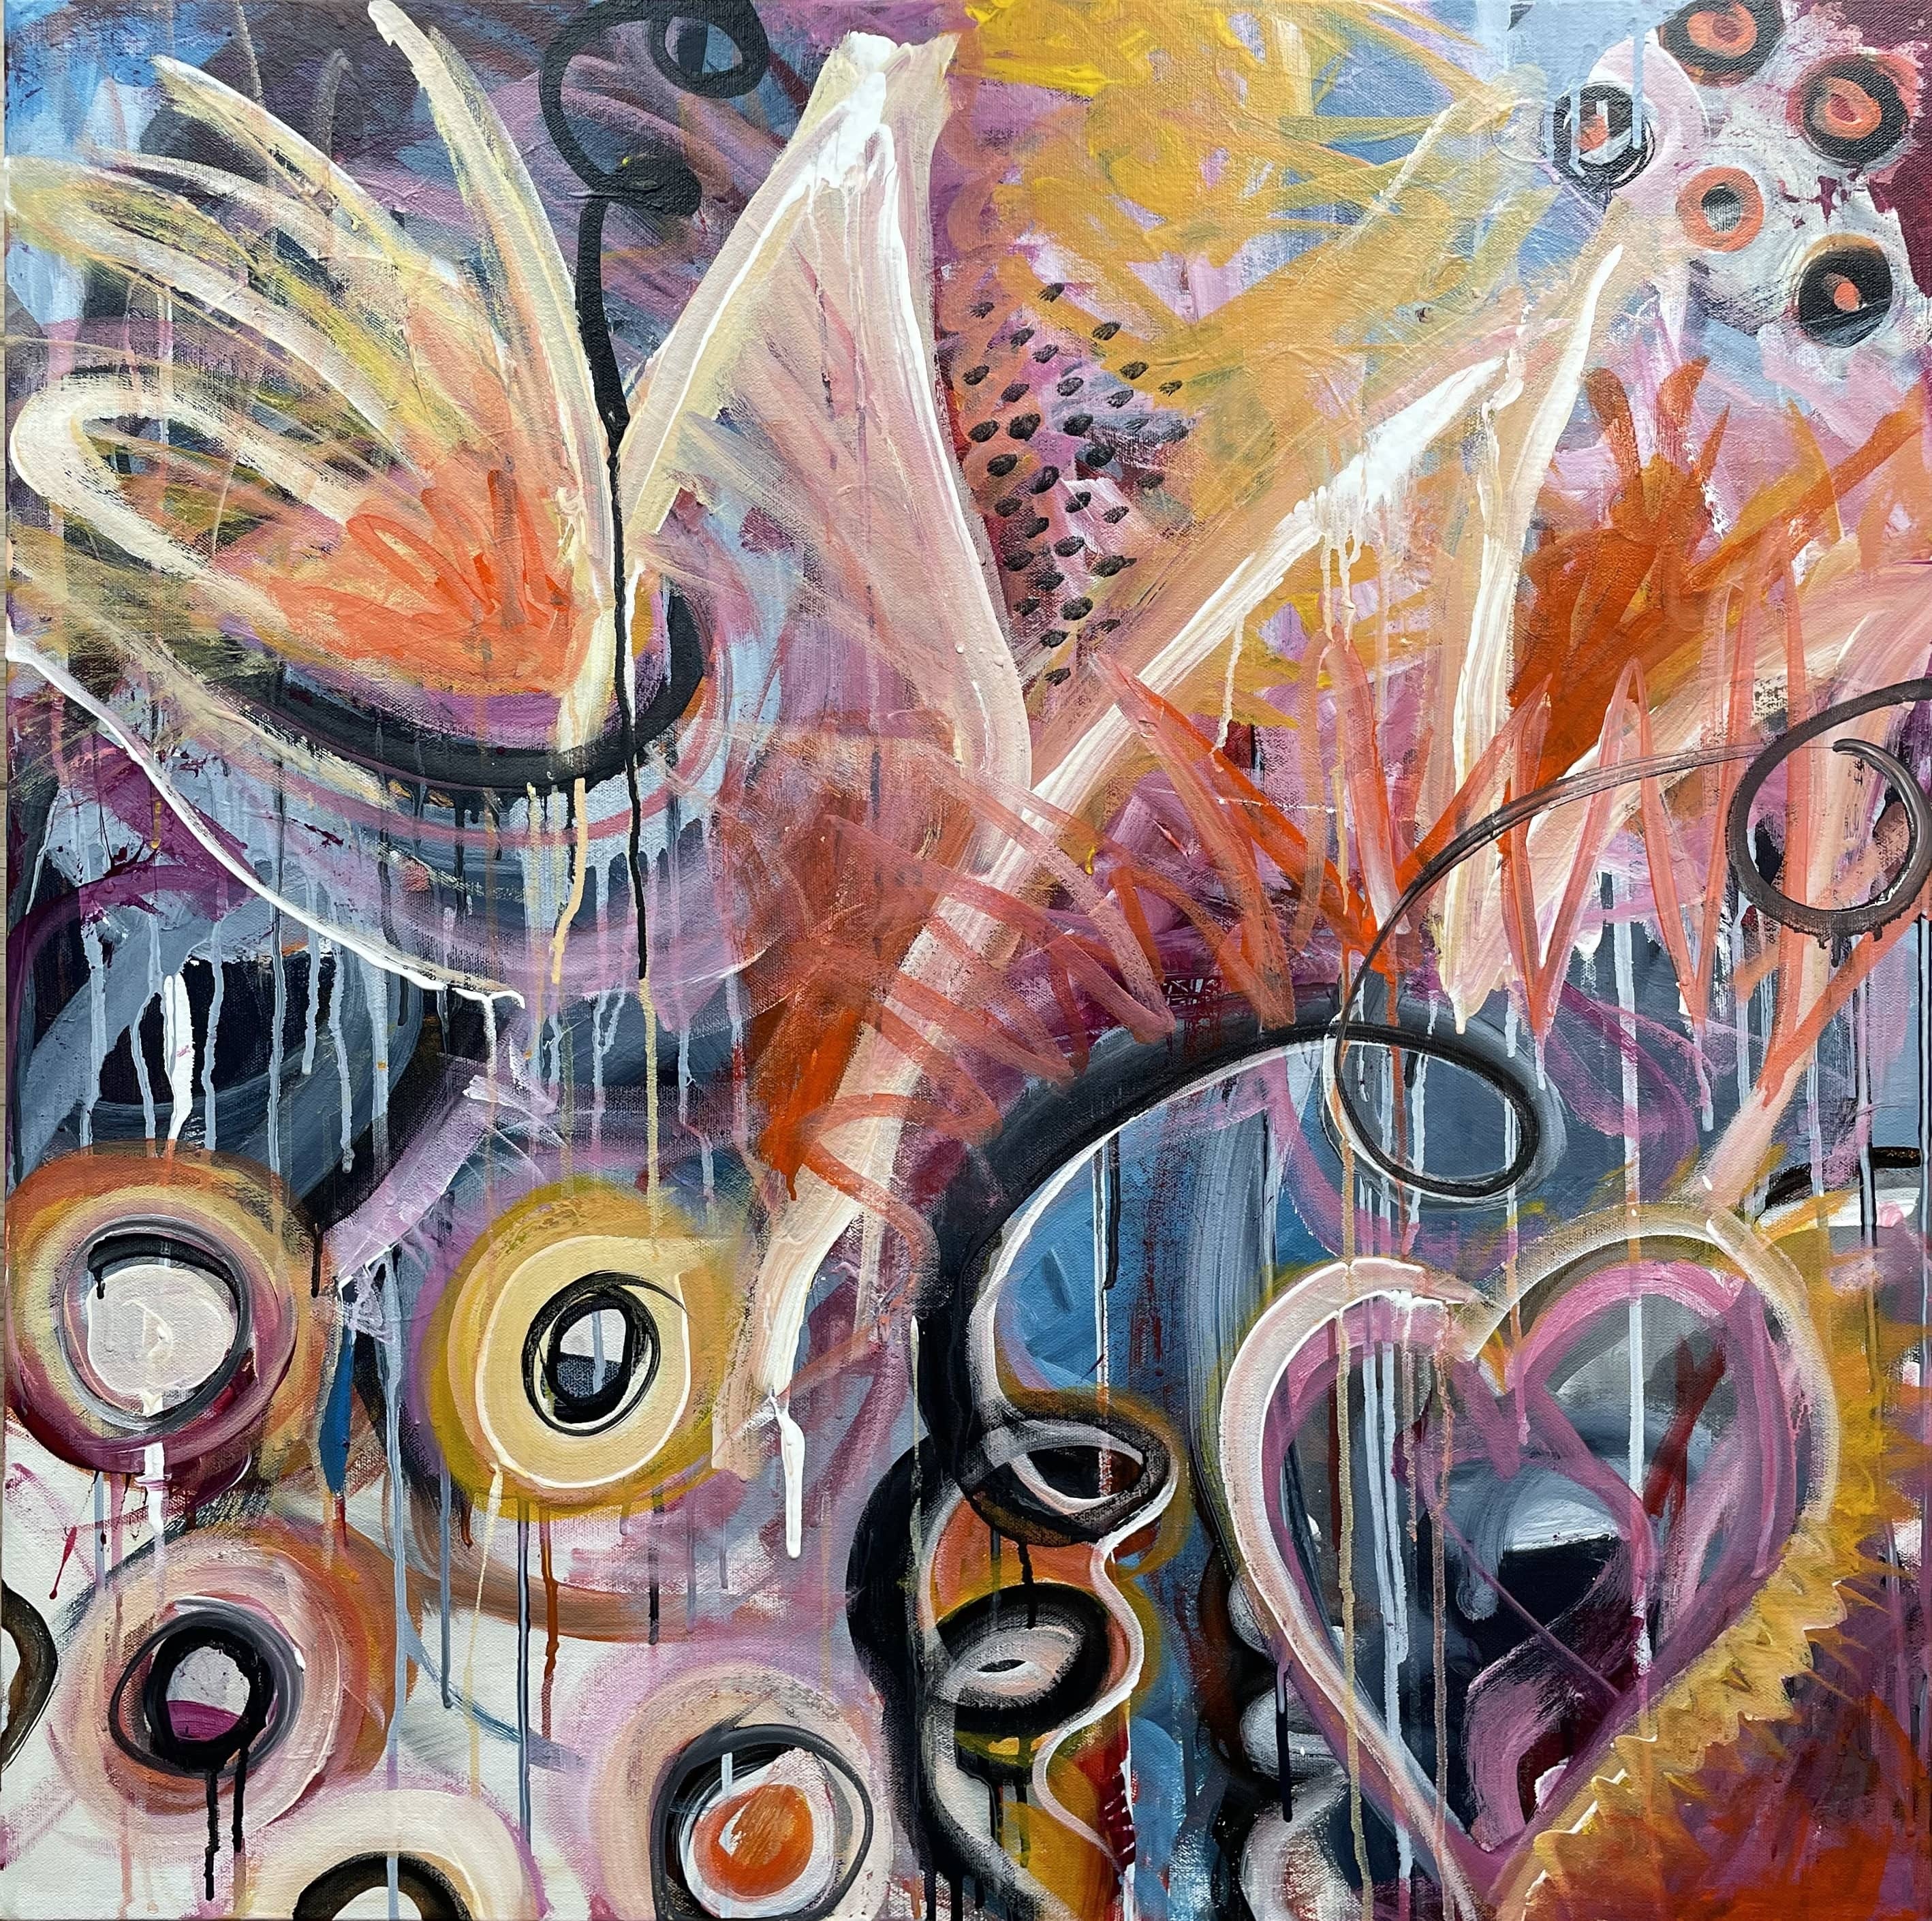
Acrylic paint is a fantastic medium for anyone looking to unleash their creativity. As one of the most versatile paints available, acrylics can be used on a huge variety of surfaces, from traditional canvas and paper to wood, fabric, ceramics, and even glass. If you’re just starting out in the world of painting, acrylics are an excellent choice. They are incredibly user-friendly, ready to use straight from the tube or bottle, and cleanup is a breeze with just soap and water. Unlike oil paints, acrylics are low-odor and fume-free, making them a comfortable option for your home studio. Acrylics also play well with others, allowing you to combine them with pastels, watercolors, and other materials for exciting mixed media art. And the best part? You don’t need to spend a fortune to begin; there are many high-quality, affordable acrylic paint options available for beginners.
In this guide, we’ll explore essential acrylic painting techniques and the diverse effects you can achieve. Get ready to dive into the colorful world of acrylics and discover how to Learn To Paint With Acrylics effectively!
Understanding the Order of Acrylic Painting
While there aren’t strict rules in art, understanding the order of painting with acrylics can significantly enhance your results, especially as you’re learning to paint with acrylics. The sequence you choose can depend on your desired outcome and the specific effects you want to create. Here are some fundamental techniques to consider:
Priming Your Canvas with Gesso
When working on canvas, priming with gesso is generally recommended. Many pre-stretched canvases come already primed, saving you a step. However, some artists, especially those learning to paint with acrylics and seeking specific textures, prefer to add extra gesso layers. This creates a better surface “tooth” for the paint to grip. Personally, I like to tint my gesso with a bit of acrylic paint to create a colored underpainting, moving away from a stark white starting surface.
Layering Techniques in Acrylic Painting
Layering is a defining characteristic of acrylic painting techniques. This is largely due to acrylics’ rapid drying time. A thin layer can dry in just minutes, unless you use additives to extend the drying time. For those learning to paint with acrylics, understanding layering is crucial for planned compositions.
Thicker paint layers will stay workable for a slightly longer period, giving you a little more time for mixing and texturing. However, even thick layers dry relatively quickly. Once dry, your paint layer is set. To make changes, you’ll need to apply another layer on top or sand down unwanted texture. This quick-drying nature encourages a layered approach, which is a key technique to learn to paint with acrylics effectively.
Opacity and Translucency in Acrylic Layers
When layering, consider the opacity or translucency of your acrylic paints. Paint labels will indicate this quality. Translucent paints allow underlying layers to show through, while opaque paints completely cover what’s beneath. This characteristic influences whether you should paint from dark to light or light to dark. Experimenting with opacity and translucency is a fantastic way to advance your layering skills as you learn to paint with acrylics.
Layering offers a liberating aspect to painting on canvas. Knowing you can always add another layer to correct or enhance your work is incredibly freeing. Multiple layers can add significant depth and texture, telling a visual story within your artwork, even if only you, the artist, are fully aware of it. This depth is something you can really achieve when you learn to paint with acrylics and master layering.
Mastering Acrylic Paint Color Mixing
Color mixing is an essential skill for anyone learning to paint with acrylics. While color theory is a vast topic, there are practical techniques to improve your mixing.
-
Utilize a Color Wheel: A color wheel is an invaluable and affordable tool for guiding your color mixing. If you’re unsure which colors to mix to achieve a desired hue, a color wheel is your go-to resource. For excellent practice, create your own color wheel using your acrylic paints. Many artists keep detailed records and paint swatches of their custom mixes for future reference, a great tip for anyone learning to paint with acrylics and aiming for consistency.
-
Pre-mixed vs. Primary Colors: If you lack confidence in color mixing, relying solely on primary colors (red, yellow, blue) can be time-consuming and wasteful. Achieving the exact shade you want through trial and error can use up more paint than necessary. Using a range of pre-mixed colors can save time and paint. Some colors are notoriously difficult to mix, and even experienced artists often prefer to buy them pre-mixed! This is a practical approach for those learning to paint with acrylics and wanting to streamline their process.
-
Alla Prima (Wet-on-Wet) Technique: Alla Prima, or wet-on-wet, involves applying wet paint directly onto a wet canvas surface. This allows you to mix and develop colors directly on your artwork. It’s a more spontaneous approach compared to palette mixing, offering expressive and immediate results. Alla Prima is a fun and dynamic technique to explore as you learn to paint with acrylics, particularly if you enjoy a more improvisational style.
Acrylic Painting Techniques with Paintbrushes
Using a paintbrush is the most traditional acrylic painting method. However, within this method lies a vast array of techniques. The brushes themselves—their shape, size, and material—significantly impact the outcome. You’ll find brushes that are large, fine-pointed, soft, stiff, flat, and round. Some brushes hold more paint than others. Experimenting with different brushes is key to learn to paint with acrylics and discover your preferences.
For beginners learning to paint with acrylics, an inexpensive set with varied shapes and sizes is ideal for experimentation. Many artists develop favorite brushes (often, fat, soft, round brushes are preferred), but your choices will depend on your painting style and the techniques you employ.
Here are a few fundamental paintbrush techniques to try as you learn to paint with acrylics:
-
Dry Brushing: This technique involves using a brush with minimal paint. After loading the brush, remove any excess paint before applying it to the canvas. Dry brushing creates thin, sometimes transparent layers that highlight brushstrokes, perfect for rendering textures like fur, hair, grass, or wood grain. It’s a valuable technique to learn to paint with acrylics for adding detail.
-
Wet Brush on Dry Canvas: This is perhaps the most common paintbrush technique. Wet your brush with water before dipping it in paint. Use as much paint as you need on the brush. The water helps the paint glide smoothly, ensuring even application. This is a foundational technique to learn to paint with acrylics for smooth coverage.
-
Wet-on-Wet: As discussed earlier in color mixing, wet-on-wet (or alla prima) involves applying a wet brush loaded with paint onto wet paint already on the canvas. This facilitates blending colors directly on the canvas and typically results in visible brushstrokes as the wet paints interact. This is a more advanced technique to explore as you learn to paint with acrylics and gain confidence.
-
Stippling: Stippling, or pointillism, uses the very tip of a brush (usually pointed or round). Lightly dab the brush repeatedly on the canvas to create dots or circles. The density and spacing of these dots build color intensity and can create an impressionistic effect. Stippling is a unique technique to learn to paint with acrylics for textural and visual interest.
Impasto Technique for Textured Acrylics
Impasto is a technique that uses thick, concentrated paint applied with a palette knife. Instead of brushstrokes, you apply paint in dabs and globs, creating texture and dimension. For impasto, you’ll likely use heavy body acrylic paint or mix a heavy gel medium into your paint to thicken it. This ensures the texture you create with the palette knife remains as it dries. While less precise, impasto is excellent for adding unique textures, movement, and dimension to your artwork. It’s a more expressive technique to learn to paint with acrylics if you want to move beyond flat surfaces.
Glazing for Translucent Color Layers
Glazing is a technique used to add subtle, translucent color layers to your painting. By mixing a small amount of glazing medium with your acrylic paint, you increase its transparency without thinning its consistency too much. While water can thin acrylics, it can also cause paint particles to separate, losing smoothness. Glazing medium is ideal for precise thinning. Once mixed, apply the glaze to areas you wish to enhance. It’s perfect for refining shadows in already-dry areas or adding tone to dry layers, allowing for nuanced color adjustments in your acrylic paintings. Glazing is a technique that adds sophistication as you learn to paint with acrylics. Always follow the mixing instructions on your glazing medium for best results.
Acrylic Pouring for Abstract Effects
Acrylic pouring is a fantastic way to create abstract art, especially for beginners who enjoy a more fluid, less controlled process. It’s also wonderfully messy and fun! For acrylic pouring, you’ll need:
- Acrylic paints in your chosen colors
- Pouring medium
- A tray to catch excess paint runoff
Mix your acrylic paints with pouring medium according to the medium’s instructions in separate containers. Disposable plastic cups work well. Then, pour and drip lines of paint onto your canvas. Gently tilt the canvas to let the paints flow and spread across the surface. You can use tools like toothpicks or a hairdryer to manipulate the swirling paint. Acrylic pouring creates unique, marbled abstract paintings, approachable and enjoyable for all skill levels. It’s a great way to learn to paint with acrylics in a very free and experimental style.
Expanding Your Toolkit: Additional Painting Tools and Mark-Making Techniques
Beyond brushes and palette knives, many other tools can move paint on canvas, offering endless possibilities to develop your unique style. Experimentation is key when you learn to paint with acrylics.
-
Sea Sponges: Great for spreading paint across large areas, sea sponges come in diverse shapes and textures, creating varied effects.
-
Brayers: Rubber rollers used in printmaking, brayers can roll paint across the canvas in broad, flat strokes.
-
Stencils and Stamps: Use for painting, printing, and mixed media. They create instant patterns on your canvas. Buy pre-made or create your own from household materials.
-
Scratching and Sgraffito: Use a palette knife or the end of a brush to scratch through wet paint, revealing underlayers and adding texture. This is known as sgraffito.
-
Paper Shop Towels: Durable and absorbent, damp paper towels can spread acrylic paint abstractly. Wiping paint off with a damp towel can leave a thin, soft layer of color.
-
Drips and Splatters: Thinned acrylic paints create interesting drips and splatters, adding movement and energy. When painting upright, let thinned paint drip naturally. For splatters, load a brush with thinned paint (or even “dirty” brush water) and flick it onto the canvas.
Acrylic Painting Finishing Techniques
Once your painting is complete, sealing it is essential for protection. While acrylics become water-resistant when cured, varnish protects against light and dust. Varnishes come in matte, satin, or gloss finishes. Two main application methods exist:
-
Spray Varnish: The easiest method. Spray varnish evenly over your painting in several passes until fully covered. Follow can instructions regarding temperature and drying times between coats for proper curing.
-
Brush Varnish: Ideal if spraying isn’t feasible, such as indoors or on highly textured paintings. Brushing takes longer but often needs fewer coats and offers more control over coverage.
Ready to Start Your Acrylic Painting Journey?
Acrylics are a wonderful medium for beginners learning to paint with acrylics. They dry quickly, mix easily, and offer a wide range of effects. With these basic techniques, you can begin exploring the exciting world of acrylics. From texture and depth to layering colors, the possibilities are vast. Don’t hesitate to experiment and have fun! If you’re interested in exploring a more intuitive approach to painting, check out resources on intuitive painting to further inspire your artistic journey.