Color mixing can often feel like a daunting aspect of art, especially when navigating the nuances of warm and cool colors. Many aspiring artists find themselves overcomplicating the process, hindering their creative flow. However, understanding the fundamentals of color theory is crucial to unlocking your full artistic potential. To simplify this journey, we introduce the concept of an Artistic Learning Cart Bundle, a curated collection of essential tools and knowledge designed to demystify color mixing and elevate your art.
This guide, inspired by insights from leading art educators, breaks down the core elements of color mixing – Hue, Value, and Chroma – providing you with a clear and practical approach. Imagine having a readily accessible cart, your artistic learning cart bundle, stocked with paints, guides, and exercises that make learning about color not just easier, but genuinely enjoyable. Let’s delve into these essential elements, envisioning how each component of your artistic learning cart bundle supports your learning.
1. Hue: The Foundation of Color Identity
Hue is simply the name of a color – red, blue, yellow, and so on. It’s the base pigment and what most people immediately recognize as “color.” When starting to mix colors, especially within an artistic learning cart bundle setting, understanding hue is your first step.
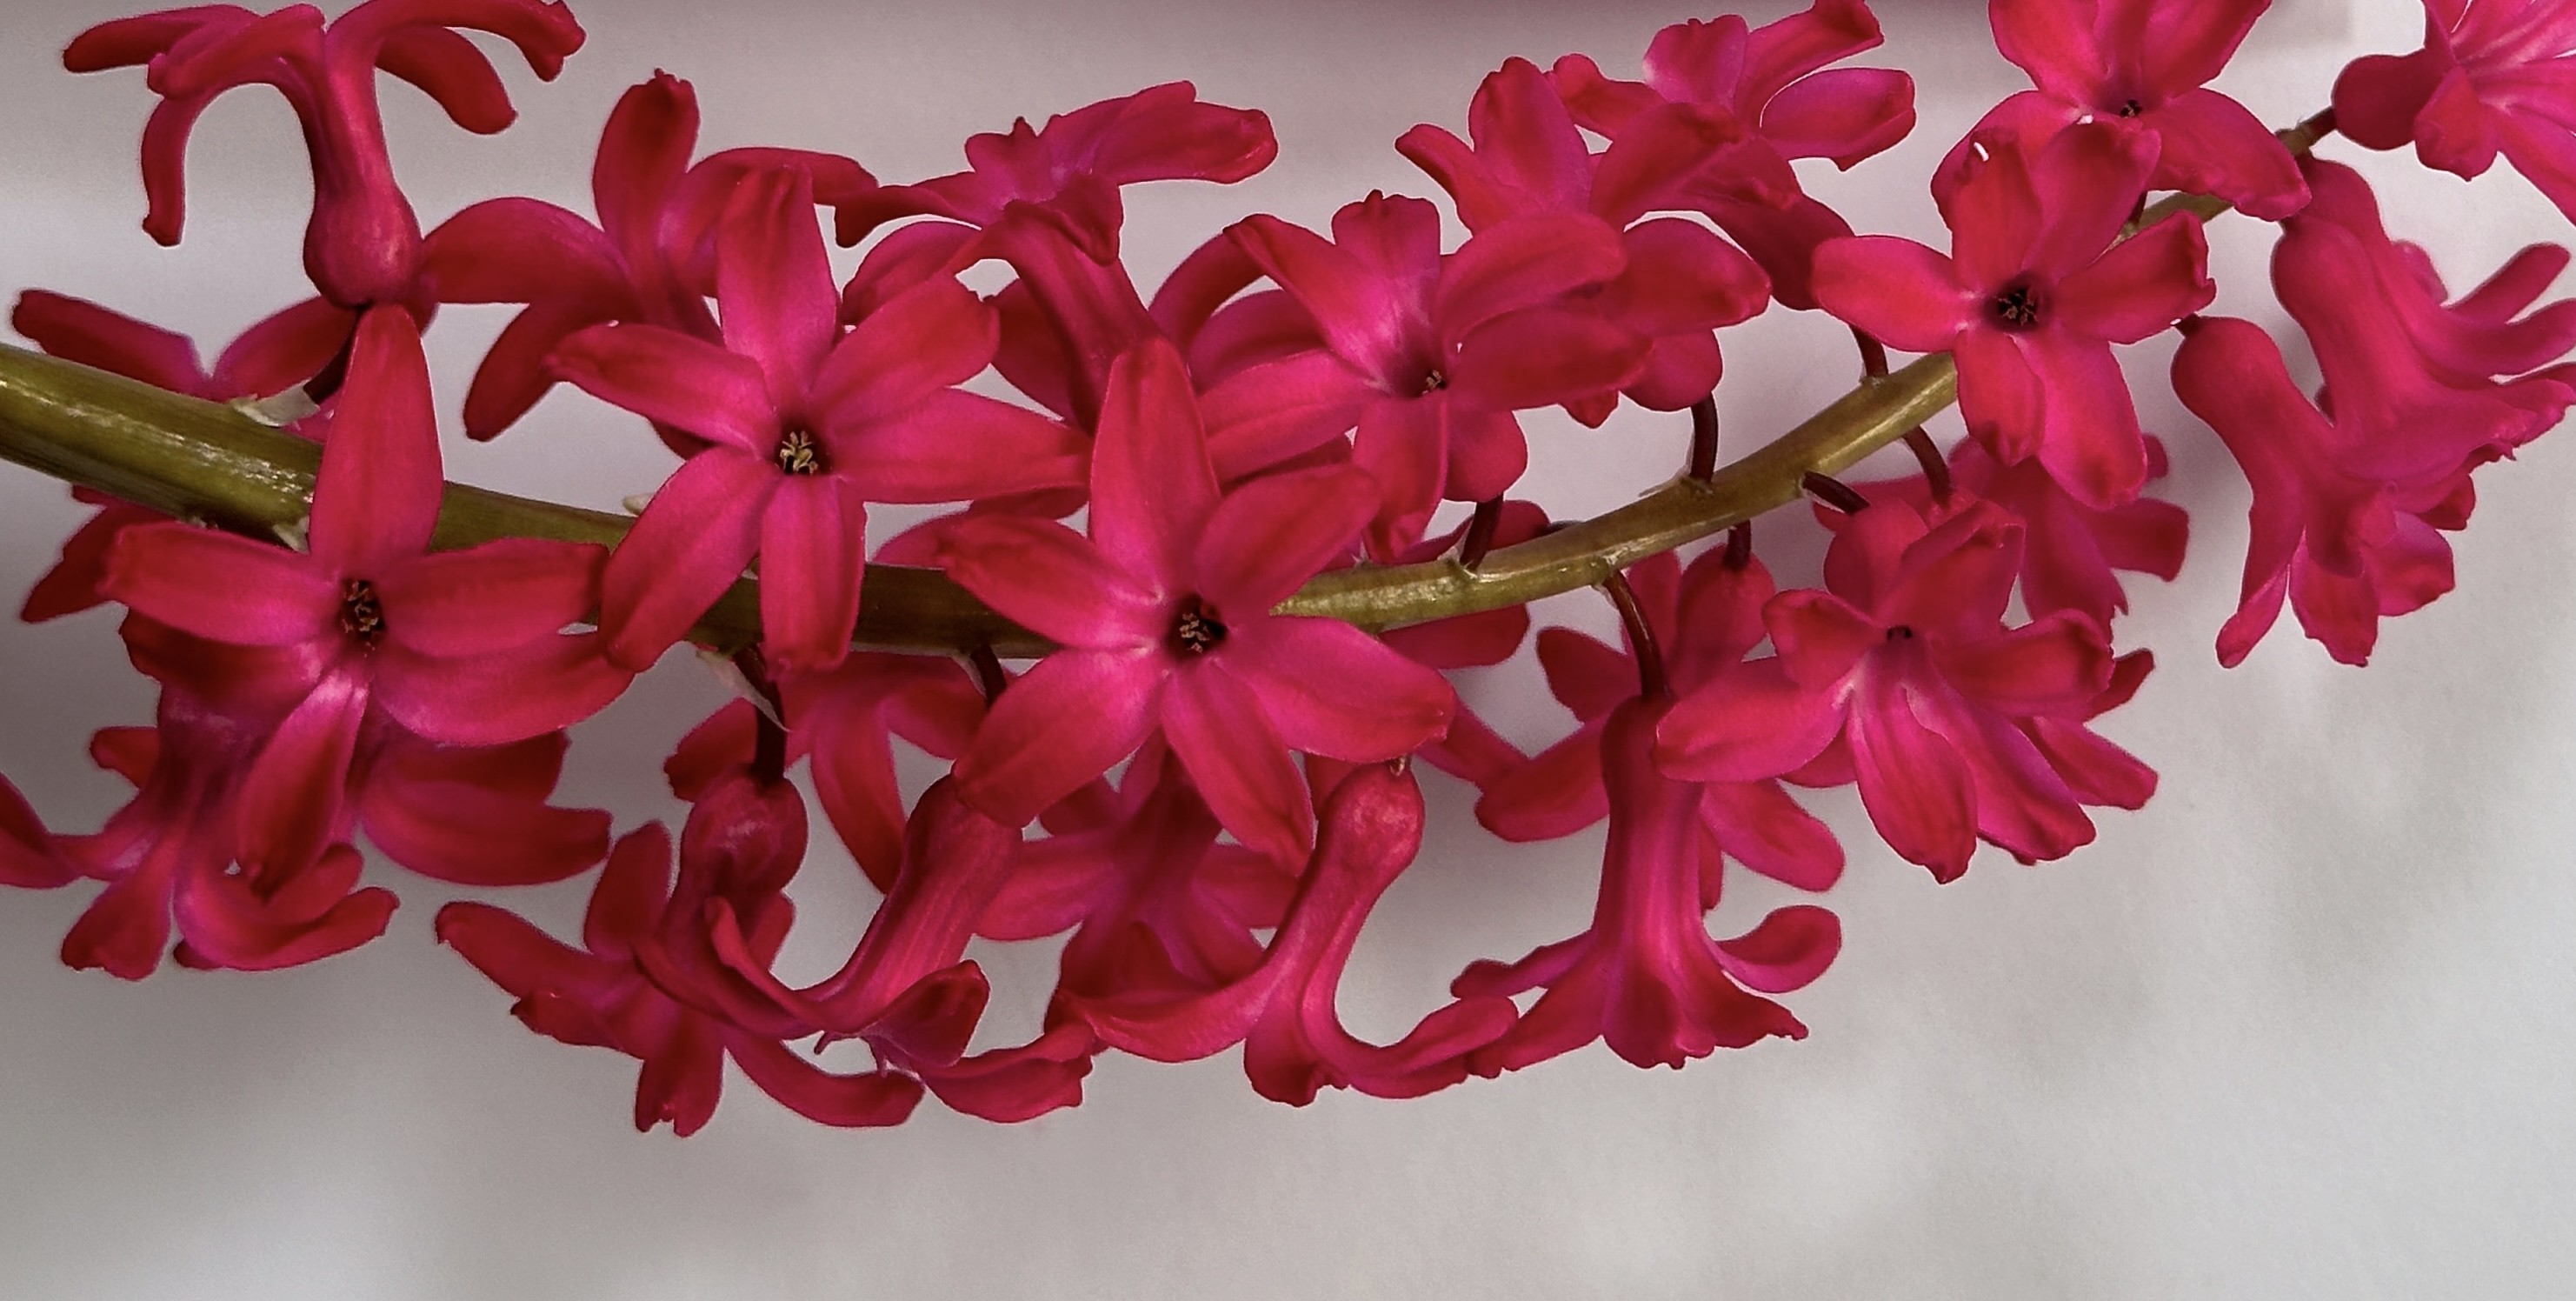
Let’s say you’re aiming to mix the color of a vibrant flower, a perfect exercise to undertake with your artistic learning cart bundle.
Step One: Initial Selection from Your Palette (Artistic Learning Cart Bundle Essentials)
Begin by choosing a tube color from your artistic learning cart bundle that seems closest to your target hue. For this example, we’ll start with Cadmium Red Medium.
Step Two: Unveiling Undertones and Color Bias
Add white to your initial color. This step, easily done with paints from your artistic learning cart bundle, helps reveal the undertone and color bias of your chosen hue.
By adding white, you can better assess whether your starting color leans warmer or cooler, guiding your next adjustments.
Step Three: Consulting Your Color Reference (A Key Component in Your Artistic Learning Cart Bundle)
Utilize a color chart, possibly included in your artistic learning cart bundle, to find your starting pigment and determine if you need to shift warmer or cooler. In our example, Cadmium Red Medium needs to become cooler to match the flower’s hue.
If you don’t have the exact Cadmium Medium Hue, consider Naphthol Red Medium as an alternative, readily available in many comprehensive art sets, like those that could form part of an artistic learning cart bundle.
Step Four: Iterative Mixing and Adjustment
Check your new mix. Is it closer? Perhaps it still needs to be cooler. In our example, Naphthol Red Medium is better, but further cooling is needed.
If Primary Magenta isn’t available in your artistic learning cart bundle, try Quinacridone Red as a step towards cooler tones.
Getting closer! But notice the cooler tones in the shadows of the flower. For this, Quinacridone Magenta, possibly from a Winsor & Newton set in your artistic learning cart bundle, might be ideal.
Oops, too cool now! It’s shifted too far and needs warming up slightly.
Step Five: Harmonizing Colors (Putting Your Artistic Learning Cart Bundle to Work)
Combine your colors. Mixing Quinocridone Magenta with Quinocridone Red, both likely present in a well-rounded artistic learning cart bundle, allows you to create a hue that better captures the range in the flowers.
The secret to success in hue mixing, especially when utilizing your artistic learning cart bundle, is to constantly evaluate the warmth and coolness of your color relative to its family. This mindful approach will significantly improve your color mixing accuracy.
Even with a limited color palette, perhaps a starter set within your artistic learning cart bundle, you can deepen your understanding of pigments by creating swatch scales and observing how they react to white.
Bonus Tip (Enhancing Your Artistic Learning Cart Bundle Experience): Test your hue perception with a Color Challenge and Hue Test. This exercise can be a fantastic addition to your artistic learning cart bundle activities, helping you refine your color acuity.
2. Value: The Lightness and Darkness Dimension
Value, also known as tone, refers to the lightness or darkness of a color. It’s a critical element, often included in educational materials within an artistic learning cart bundle, for creating depth, mood, and visual interest in your artwork. Value gives form and solidity to drawings and paintings and is integral to effective compositions.
Ignoring value structure can lead to struggles in your art, making color mixing harder, compositions weaker, and paintings appear less professional. Your artistic learning cart bundle might include value scales or exercises to prevent this common pitfall.
The good news? You already intuitively understand value.
Value Thinking in Drawing
When you draw, you’re inherently thinking about value. Drawing is essentially translating a colored image into black and white. The challenge is that color itself can sometimes mislead your value perception.
Consider this detail from Van Gogh’s Wheatfield:
Because yellow is bright, you might assume it’s inherently light in value.
Surprising, right? Why does it appear so dark in value?
Base Value in All Colors
Every color pigment possesses an inherent lightness or darkness, its base value. Within yellows, for instance, Cadmium Yellow Primrose is among the lightest.
Cadmium Yellow Primrose, Cadmium Yellow Light, Cadmium Yellow Medium, Cadmium Yellow Dark – these yellows, potentially found in a comprehensive artistic learning cart bundle, showcase varying base values.
In black and white, they still appear relatively close in value, highlighting their inherent lightness compared to other color families.
The value difference becomes clearer when comparing Raw Sienna to Cadmium Yellow Primrose.
Wheatfield, Vincent Van Gogh
Here’s the full painting. Notice how Van Gogh masterfully uses different values of yellows, from darker Raw Sienna on the right to lighter Primrose yellows in the center, to create variety and focal points. Studying such masterpieces can be a valuable lesson included in an artistic learning cart bundle.
Focusing on value reveals that most colors in this painting fall within the darker end of the value scale.
Relative Nature of Values
Just as a color’s warmth or coolness is influenced by its surroundings, so is value. This relativity makes judging value challenging.
In Van Gogh’s Wheatfield, the yellows appear bright and light. Yet, isolated, they are darker in value. Why the perceived brightness? It’s because they are juxtaposed with darker colors, an effect known as ‘simultaneous lightness contrast.’
The central squares are identical in color and value. However, the one surrounded by black appears lighter, mirroring the effect in Van Gogh’s painting. Understanding this perceptual phenomenon can be enhanced through exercises and visual aids, perfect additions to an artistic learning cart bundle.
Developing Your “Value Vision”
How can you train your eye to see value effectively? A simple technique is to close your eyes partially.
Look at your subject or reference and your painting within the same view. Close your eyes slightly, then slowly open them until you discern the lightest shapes. Does it align with your painting? Does the hazy image reveal the same lightness and shape relationships?
You’re aiming to perceive the basic value structure of your subject in tonal masses. These simple masses form the structural foundation of your painting. Practice this technique, perhaps with exercises included in your artistic learning cart bundle, and you can transition to “squinting down” with your eyes open.
Value Range Versatility
Composing a painting doesn’t always necessitate high contrast (a wide value range).
Consider another Wheatfield painting by Van Gogh:
Wheatfield with a Reaper, Vincent Van Gogh
The figure in the wheatfield is discernible due to color difference.
Notice how the figure almost vanishes when the painting is converted to black and white, illustrating a narrow value range.
The values in this painting are predominantly mid-range.
Here are 3 yellow swatches from the painting.
To mix the darkest swatch, use a yellow pigment with a similar value, like Yellow Ochre, often found in beginner art sets within an artistic learning cart bundle. Darken it with a touch of Raw Umber (or Raw Sienna for a close match straight from the tube). Lighten the mix with Hansa Yellow Light, and for the lightest swatch, add Titanium White and more Hansa Yellow Light.
The key to value mixing success, especially when practicing with your artistic learning cart bundle, is to constantly consider lightness and darkness. Approach it as if you were drawing in black and white.
Using a grayscale value strip, potentially included in your artistic learning cart bundle, is invaluable.
Print a value strip with numbered steps from black to white and punch holes through each value square. Use this as a viewfinder to judge tonal values in your reference image.
When a color “disappears” into a gray value on your strip, you’ve found the closest value to match in your paint mix. Value strips and exercises on their use could be essential components of an artistic learning cart bundle.
With an understanding of Hue and Value, we now turn to the final piece of the color mixing puzzle.
3. Chroma: The Intensity of Color
Chroma, derived from the Greek word for “color,” describes the saturation or purity of a color – how dull or intense it is. Understanding chroma is vital for achieving the desired vibrancy in your paintings, and exploring it can be a fascinating aspect of using your artistic learning cart bundle.
In the swatch series below, Green 1 exhibits the highest chroma. Chroma decreases as gray is added, with 10 being neutral gray.
Shades of Neutral Gray
Neutral gray, often included in paint sets within an artistic learning cart bundle, is a gray without warm or cool bias.
Lowering chroma doesn’t always require adding gray.
Think of chroma as color purity. Cadmium Yellow Light, straight from the tube, is high chroma. High chroma colors are often the most vibrant and exciting in a new artistic learning cart bundle.
Mixing in a lower chroma pigment reduces overall chroma.
Adding lower chroma Cadmium Red Medium to high chroma Cadmium Yellow Light lowers the chroma using color rather than neutral gray. Experimenting with chroma reduction techniques can be a great learning activity with your artistic learning cart bundle.
Still with us? Chroma can be a complex concept initially!
Chroma Value in Pigments
Like tonal values, pigments have varying chroma values.
Here’s a range of colors from light to dark.
But which has the highest chroma?
Grayscale only shows value, not chroma intensity.
This color has the highest chroma in the range. How do we know? By identifying the most pure, intense, and rich pigment. White-based or earth colors inherently reduce purity and thus chroma. Learning to judge chroma by eye is a skill developed over time and practice, ideally supported by resources in an artistic learning cart bundle.
How does chroma understanding aid your painting?
Judging scene chroma helps you select pigments with a matching chromatic range.
Consider Anton Mauve’s painting:
Morning Ride along the Beach, Anton Mauve, 1876
It evokes a bright beach morning with clear blue skies. Vivid and high chroma, right?
But the color swatches are surprisingly dull, all low chroma colors.
What if we boost the saturation?
Increased saturation changes the painting’s feel dramatically.
Whether you prefer intense, vivid colors or subdued, subtle mixes is a matter of artistic preference. There’s no right or wrong, but aligning your chromatic choices with your artistic style is key. Exploring different chromatic styles can be a project using materials from your artistic learning cart bundle.
Four Chroma Reduction Methods
Besides adding white, there are four main ways to reduce chroma:
- Add a lower chromatic version of the color: Using a less pure pigment of a similar hue.
- Add a complementary color: Mixing in the color opposite on the color wheel.
- Add neutral gray: Introducing a non-biased gray to dull the color.
- Add black: Darkening and desaturating simultaneously.
Each method yields slightly different results based on pigment properties.
In this example, high chroma Cadmium Orange (top row) is desaturated using: Burnt Umber (lower chroma version), Ultramarine Blue (complementary), Neutral Gray, and Mars Black.
Notice the similar low chroma oranges achieved despite varying methods. Each method has pros and cons, primarily related to the color bias of the pigment used and its effect on other colors. Experimenting with these methods using paints from your artistic learning cart bundle is highly educational.
The key to chroma mastery? Observation and experimentation.
Pigment behavior is truly understood through hands-on practice. Using the resources in your artistic learning cart bundle, try replicating color palettes from paintings you admire. If your artistic learning cart bundle has a limited palette, challenge yourself to maximize its potential or choose subjects that align with your available colors. Observe color changes under different lighting and note that highest chroma isn’t always in the highlights. Start identifying high chroma areas in objects and train your eye to notice more.
We hope this exploration of Hue, Value, and Chroma has been helpful. To further deepen your color mixing skills and apply this theory practically, consider exploring resources like a comprehensive color mixing course, potentially as a next step after mastering the basics with your artistic learning cart bundle.
While this guide focuses on acrylics, the same principles apply to oils.
For a handy reference, download this PDF Download of the Hue, Value Chroma Article. And remember, your artistic learning cart bundle is your starting point, your toolkit for a lifetime of color exploration and artistic growth.