The Akai MPK Mini MK3 is a popular MIDI controller, renowned for its portability and versatility. If you’re a budding musician or someone keen to start learning the piano, you might be wondering: Can I learn piano on an MPK Mini 3? The short answer is yes! While it’s not a traditional piano, the MPK Mini MK3 is an excellent tool for beginners to start their musical journey and learn fundamental piano skills.
This guide will walk you through setting up your MPK Mini MK3 and utilizing its features alongside the included software to begin your piano learning adventure. We’ll cover everything from registration and software installation to configuring your controller and accessing sounds, ensuring you have a solid foundation to start making music and learning piano basics.
Getting Started: Registration and Software Setup
Before you can dive into learning piano, you need to register your MPK Mini MK3 and install the accompanying software. This unlocks a suite of powerful tools, including MPC Beats, AIR plugins, and sample packs, all essential for your learning process.
-
Account Creation: Begin by navigating to the official Akai Professional website: www.akaipro.com.
-
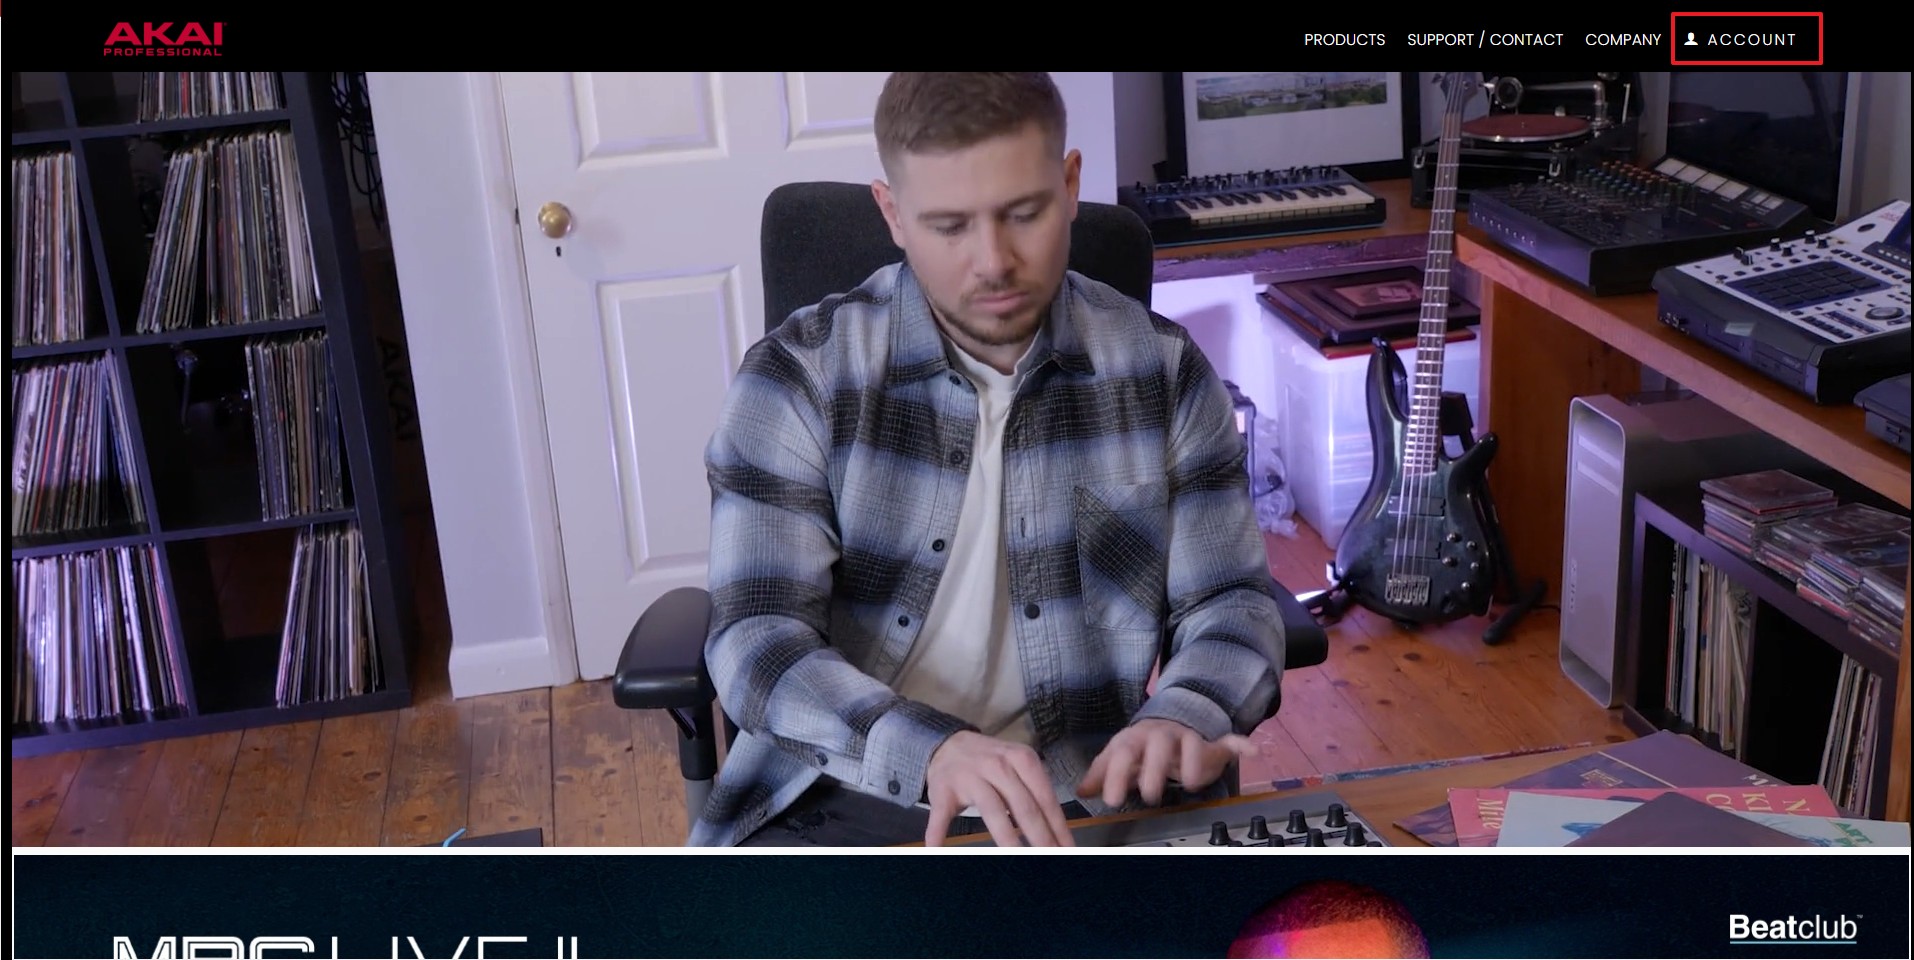
Account Login/Registration: In the top right corner, click Account. If you’re new to Akai, select Create an account. If you’re a returning customer, Sign In using your existing credentials. Follow the prompts to register, ensuring your password meets the minimum length requirements.
-
Product Registration: Once logged in, you’ll see Register New Product on your account page. Click this option.
-
Serial Number Input: Locate the serial number on the bottom of your MPK Mini MK3. It begins with (21) and is found on a barcode sticker. Enter the complete serial number into the provided field and click Check Serial.
Note: The (21) prefix is pre-filled. If you encounter registration issues, clear your browser cache and try again.
-
Finalize Registration: Click Register Your Product.
-
Purchase Details: Enter your Date of Purchase and Place of Purchase to complete the registration.
Congratulations! Your MPK Mini MK3 is now registered, and you can access the bundled software.
Downloading and Installing the inMusic Software Center
The inMusic Software Center is your central hub for accessing and installing all the software included with your MPK Mini MK3. This uni-installer simplifies the process of getting MPC Beats, AIR plugins, sample packs, and the MPK Editor onto your computer.
-
Access Software Downloads: In your Akai account, locate your registered MPK Mini MK3 product listing. Click View Downloads to expand the product details.
-
Download inMusic Software Center: Under Software Downloads, find and click the IMPORTANT – DOWNLOAD FIRST InMusic Software Center section. Select the installer compatible with your operating system from the dropdown menu.
-
Launch inMusic Software Center: Once downloaded, open the inMusic Software Center installer.
-
Sign into inMusic Profile: Click Let’s Go! The software will redirect you to a browser window to sign in using your newly created Akai (inMusic) account credentials. Enter your email and password, then click SIGN IN.
-
MPK Mini Setup: After successful login, the inMusic Software Center will guide you through the MPK Mini setup process.
-
Connect MPK Mini: Connect your MPK Mini MK3 directly to your computer using the provided USB cable. Avoid USB hubs for optimal performance. Click REDEEM SOFTWARE to ensure your AIR plugins are added to your inMusic profile.
-
Proceed to Software Selection: Click NEXT.
-
Software Selection and Installation: The Software Manager displays available Instruments, Apps, and Sample Packs. Select the software you want to install by clicking their respective icons to add them to the installer queue. Click Next to proceed with installation.
-
Software Information: For more details on specific software, click the Information button.
-
Initiate Download and Installation: Click Done. The Software Manager will download and organize the installers for your selected software on an accessible page.
-
MPC Beats Expansion Packs: Your MPC Beats Expansion Packs are located under ‘My Expansions’.
The inMusic Software Manager is now installed in your Applications or Programs folder, allowing you to access your software and installers at any time.
Installing MPC Beats: Your Music Production and Piano Learning Hub
MPC Beats is the core software for your MPK Mini MK3. It’s a powerful DAW (Digital Audio Workstation) that lets you create music, utilize your AIR plugins, and trigger sample packs. For piano learners, MPC Beats provides a platform to practice, record, and experiment with sounds.
-
Open Software Manager: Launch the Software Manager from your Applications or Programs folder.
-
Navigate to Software Tab: Click on the Software tab. Locate the MPC Beats installer under Apps and click the Install button.
-
MPC Beats Installation: The MPC Beats installer will launch automatically. Follow the on-screen instructions to complete the installation process.
Installing and Activating AIR Plugins: Expanding Your Piano Sounds
The MPK Mini MK3 comes with three AIR plugins: Hybrid 3, Mini Grand, and Velvet. These virtual instruments significantly expand your sonic palette and are perfect for piano practice and music creation.
-
Open Software Manager and Navigate to My Hardware: Open the Software Manager and click on the My Hardware tab. Find the Plugin Instruments section.
-
Download and Install AIR Plugins: Click the Download button to the right of the Plugin Instruments section. Once downloaded, click Install.
-
Plugin Installation: Follow the on-screen prompts to install the AIR plugins.
-
Automatic Activation: Your AIR Instruments will automatically activate upon installation. You have three activations available across different machines.
-
Repeat for Remaining Plugins: Repeat steps 1-2 for any other AIR plugins you wish to install.
Installing MPC Beats Sample Packs: Rhythmic Accompaniment for Practice
Sample Packs provide diverse sound libraries and pre-made kits that you can trigger from the MPK Mini MK3’s pads. These are excellent for adding rhythm and beats to your piano practice or music productions.
-
Open Software Manager and Navigate to My Expansions: Launch the Software Manager and click on the My Expansions tab.
-
Install Sample Packs: Click the Install button next to the Sample Pack you want to install.
-
Sample Pack Installation: The installer for the Sample Pack will automatically appear. Follow the prompts to complete the installation.
-
Repeat for Other Sample Packs: Repeat steps 2-3 for any additional Sample Packs you wish to install.
Using Standalone Plugins for Quick Practice Sessions
The AIR plugins (Electric, Hybrid, and Velvet) also offer standalone versions. These are perfect for quick practice sessions without needing to open a full DAW like MPC Beats.
-
Connect MPK Mini: Connect your MPK Mini to your computer via USB.
-
Open Standalone Plugin: Locate and open the standalone applications for Electric, Hybrid, or Velvet Keyboards in your Applications or Programs folder.
-
Plugin Interface and MIDI Input: The software interface will open and automatically connect to your MPK Mini.
Note: If the software isn’t responding to your MPK Mini, click the Settings gear icon and ensure your MPK Mini is enabled under Active MIDI Inputs.
-
Preset Selection: Access different sounds by clicking the preset field. A dropdown menu will appear with available presets. Select a preset to load it.
Customize sounds using the virtual knobs and parameters. Save your adjustments as User presets using the Save button.
Configuring Your MPK Mini MK3 in MPC Beats for Piano Learning
To fully utilize your MPK Mini MK3 for piano learning within MPC Beats, proper configuration is key.
-
Open MPC Beats: Launch MPC Beats from your Applications or Programs folder.
Alt Text: MPC Beats application icon as it appears in the applications or programs folder on a computer.
-
Connect MPK Mini Prompt: MPC Beats will prompt you to connect your MPK Mini. Connect the controller and click Next.
-
Controller Mapping: MPC Beats will auto-detect your MPK Mini MK3 and select the appropriate controller map. You can also manually select the Akai MPK mini 3 map by navigating to New MIDI Mapping > Factory > Akai > Akai MPK mini 3.
-
Workspace Selection: Choose your workspace. Simple is recommended for beginners. Select Advanced if you have MPC experience, then click Next.
-
Project Templates: MPC Beats offers project templates and demos. For a clean start, choose Empty Project.
-
Help Resources: For MPC guidance, click Open Help or Watch Videos.
-
MIDI/Sync Preferences: Access Preferences to configure MIDI input.
- Mac: MPCBeats > Preferences
- PC: EDIT > Preferences
-
Input Ports Configuration: In MIDI/Sync Preferences, the Input Ports section lists available MIDI inputs. Ensure Enable MIDI ports when discovered is ON.
The MPK Mini’s Input Port is typically set to Track by default. Input modes include:
- Master: MIDI data always goes to the selected program. (e.g., MPC Pads)
- Control: MIDI data sent to MIDI Learn for custom assignments.
- Track: MIDI port selectable as input in track’s Channel Strip or Track View.
-
Sync Send (Optional): If using external clock with MPK Mini’s Arp or Note Repeat, enable Sync Send and select MIDI Clock in the Sync Output field.
Scanning AIR Plugins into MPC Beats for Piano Sounds
Before you can use your AIR plugins within MPC Beats to access piano and keyboard sounds, you need to scan them into the software.
-
Navigate to Preferences: Open the Preferences menu in MPC Beats:
- Mac: MPCBeats > Preferences
- PC: EDIT > Preferences
-
Select Plugins Tab: Choose the Plugins tab.
-
Plugin Manager Setup: Check the first available box and click browse box to navigate to your plugin installation location.
Alt Text: Plugins tab within MPC Beats preferences, highlighting the Plugin Manager section with checkboxes and a ‘browse box’ for plugin path selection.
-
Browse Plugin Folder Pathway: Use the drop-down menu to browse to your plugin folder’s pathway.
- Mac: Library/Audio/Plug-ins/VST
- PC: C:/Program Files/Steinberg/VstPlugins
Double-click folders to navigate, and single-click the final folder then choose Open.
-
Rescan Plugins: Select Rescan All. Click OK when the process is complete.
Your AIR plugins are now accessible in MPC Beats! Load them by creating a Plugin Program and clicking the Plugin field. The browser will display your MPC plugins and AIR plugins.
If the plugin GUI isn’t visible, click the Explode icon.
Loading Sample Packs for Drum Accompaniment
MPC Sample Packs are automatically loaded into MPC Beats after installation. Access them via the Media Browser icon at the bottom right or by pressing the “B” key.
Sample Packs appear as icons under the Expansion tab. Click a Sample Pack icon to view its samples and drum kits.
Note: If no icons appear under Expansions, Sample Packs may not be installed. Re-install them via the MPK mini Software Manager under the Software tab.
Load samples or drum kits by dragging files from the Browser directly to the pads.
The sample or kit will populate the pads and can be played from the MPK Mini’s pads. Preset 1 on the MPK Mini is pre-mapped to Pad Bank A in MPC Beats. Access it by holding Prog Select and pressing Pad 1.
Start Your Piano Journey with MPK Mini 3
The MPK Mini MK3, combined with the included software suite, is indeed a fantastic gateway to learning piano and music production. While its 25 keys are not the full range of a traditional piano, it provides enough keys to learn chords, melodies, and basic piano techniques. Paired with the AIR Mini Grand plugin, you have access to realistic piano sounds within MPC Beats, creating an engaging learning environment.
Remember, consistent practice is key to learning piano. Use the MPK Mini 3 to explore melodies, practice scales, and experiment with rhythms. The portability of the MPK Mini 3 also means you can learn and practice anywhere, anytime inspiration strikes. Embrace the journey, and enjoy making music!