Learning how to do nails is an exciting journey that combines creativity with practical skills. At LEARNS.EDU.VN, we provide a structured approach to help you master nail techniques, from basic manicures to advanced extensions, ensuring you gain the expertise needed for stunning nail art. Explore our resources to discover professional nail care secrets, enhance your nail art skills, and achieve beautiful, long-lasting results.
1. What Are The Essential Steps To Start Learning How To Do Nails?
The essential steps to start learning how to do nails involve mastering nail preparation, understanding basic manicure techniques, and gradually advancing to more complex procedures. Begin with a strong foundation in nail anatomy and hygiene, then explore gel polish application, nail art, and extension methods.
1.1. Nail Anatomy And Hygiene
Understanding nail anatomy is crucial for providing safe and effective nail services. The nail unit consists of several parts:
- Nail Plate: The visible part of the nail.
- Nail Bed: The skin beneath the nail plate.
- Cuticle: The skin that overlaps the base of the nail.
- Nail Matrix: The area where the nail cells are generated.
- Lunula: The crescent-shaped area at the base of the nail.
Maintaining proper hygiene is equally important to prevent infections and ensure client safety. According to a study published in the Journal of the American Academy of Dermatology, proper hand hygiene can reduce the risk of nail infections by up to 50%.
Hygiene Practices:
- Hand Washing: Wash hands thoroughly with soap and water before and after each client.
- Sanitization: Use sanitizers to disinfect tools and surfaces.
- Sterilization: Sterilize metal tools using an autoclave.
- Single-Use Items: Use disposable files, buffers, and orangewood sticks.
1.2. Basic Manicure Techniques
A basic manicure includes shaping the nails, cuticle care, and polish application. Here’s a step-by-step guide:
- Preparation: Sanitize your hands and the client’s hands.
- Nail Shaping: File the nails to the desired shape (square, round, oval, etc.) using a 180-grit file.
- Cuticle Softening: Apply cuticle softener and gently push back the cuticles with a cuticle pusher.
- Cuticle Trimming: Carefully trim any hangnails or excess cuticle with cuticle nippers.
- Buffing: Buff the nail surface to create a smooth base for polish.
- Cleaning: Remove dust and debris with a nail brush and alcohol.
- Base Coat: Apply a thin layer of base coat to protect the nail and help polish adhere.
- Polish Application: Apply two thin coats of your chosen nail polish color.
- Top Coat: Finish with a top coat to seal the polish and add shine.
- Hydration: Apply cuticle oil to moisturize the cuticles and surrounding skin.
1.3. Advancing To Complex Procedures
Once you’ve mastered the basics, you can move on to more complex procedures such as gel polish application, nail art, and extensions. Gel polish offers durability and shine, while nail art allows for creative expression. Extensions provide added length and strength to the nails.
1.4. Gel Polish Application
Gel polish requires a UV or LED lamp to cure and typically lasts longer than regular nail polish.
Steps for Gel Polish Application:
- Preparation: Prepare the nails as you would for a basic manicure.
- Primer: Apply a thin layer of primer to help the gel adhere to the nail.
- Base Coat: Apply a thin layer of gel base coat and cure under the UV/LED lamp for 30-60 seconds.
- Gel Polish: Apply two thin coats of gel polish, curing each layer under the lamp for 30-60 seconds.
- Top Coat: Apply a gel top coat and cure under the lamp for 60-90 seconds.
- Cleansing: Remove the sticky residue with a cleanser solution.
- Hydration: Apply cuticle oil to hydrate the cuticles.
1.5. Nail Art Techniques
Nail art can range from simple designs to intricate masterpieces. Some popular techniques include:
- Stamping: Using plates and stampers to transfer designs onto the nails.
- Freehand Painting: Creating designs using fine detail brushes and acrylic paints.
- Decals and Stickers: Applying pre-designed decals or stickers to the nails.
- Glitters and Embellishments: Adding glitter, rhinestones, and other embellishments for a glamorous look.
To enhance your nail art skills, LEARNS.EDU.VN offers courses and tutorials that cover various techniques and design ideas.
1.6. Nail Extension Methods
Nail extensions can be achieved using acrylics, gels, or polygel. Each method has its advantages and requires specific skills and materials.
- Acrylic Extensions: Using a combination of liquid monomer and powder polymer to create a durable extension.
- Gel Extensions: Applying a thick gel product over nail forms or tips and curing under a UV/LED lamp.
- Polygel Extensions: Combining the best of acrylics and gels, polygel is easy to mold and provides a strong, lightweight extension.
2. What Tools And Materials Do You Need To Start Doing Nails?
To start doing nails, you’ll need essential tools for nail preparation, gel polish application, nail art, and extensions. Each area requires specific items to ensure quality and safety.
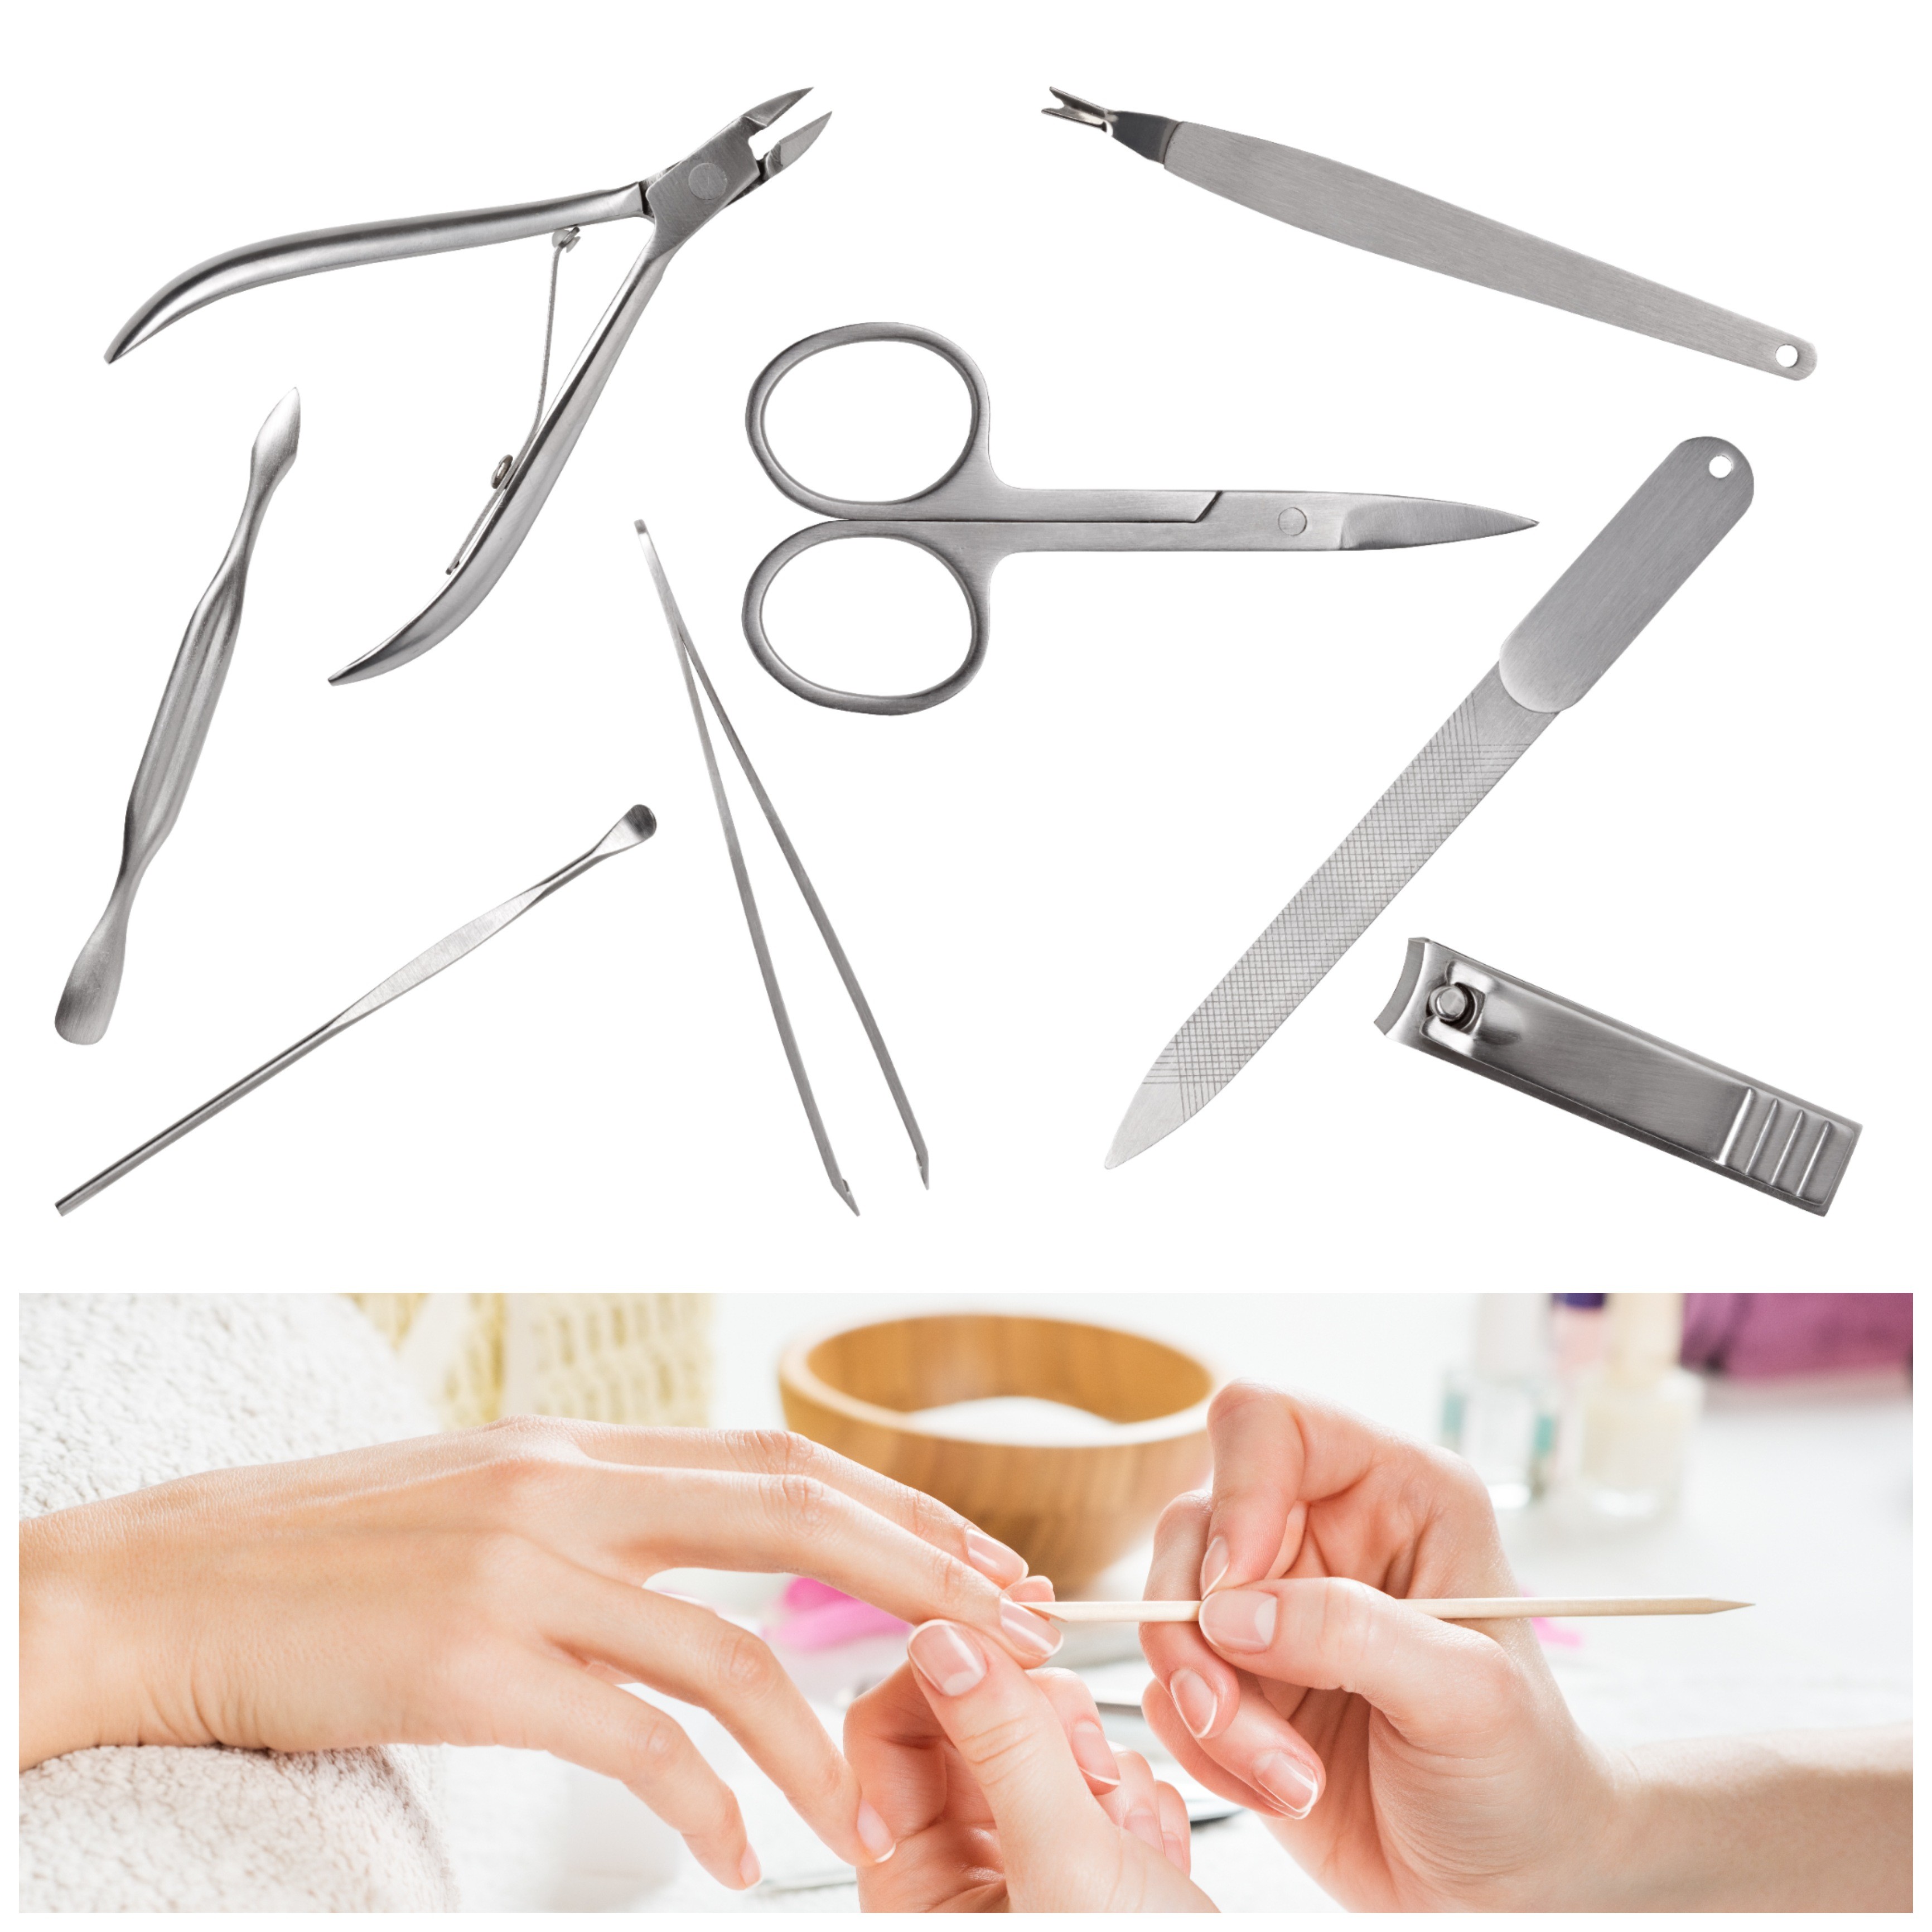
2.1. Essential Tools For Nail Preparation
Nail preparation is the foundation for any nail service. Here’s a list of essential tools:
- Nail Files (100/180 grit): For shaping and refining the nail.
- Buffing Blocks: To smooth the nail surface.
- Cuticle Pusher: To gently push back the cuticles.
- Cuticle Nippers: To trim excess cuticle and hangnails.
- Nail Brush: To remove dust and debris.
- Lint-Free Wipes: For cleaning the nail surface.
- Alcohol: To sanitize and dehydrate the nails.
- Cuticle Softener: To soften the cuticles for easy removal.
- Cuticle Oil: To hydrate the cuticles after the service.
- Sanitizer: To disinfect tools and surfaces.
2.2. Tools For Gel Polish Application
For applying gel polish, you’ll need:
- UV/LED Lamp: To cure the gel polish.
- Gel Base Coat: To protect the nail and help the polish adhere.
- Gel Polish Colors: Your choice of gel polish colors.
- Gel Top Coat: To seal the polish and add shine.
- Primer: To improve adhesion of the gel polish.
- Cleanser Solution: To remove the sticky residue after curing.
- Foil or Removal Clips: For gel polish removal.
2.3. Nail Art Supplies
For creating nail art, consider these supplies:
- Fine Detail Brushes: For intricate designs.
- Striping Tape: To create straight lines and geometric patterns.
- Dotting Tools: For creating dots and swirls.
- Glitters: For adding sparkle and dimension.
- Rhinestones and Gems: For adding embellishments.
- Acrylic Paints: For freehand painting.
- Stamping Plates and Stamper: For transferring designs.
- Foil Gel/Glue: For foil application.
- Foils: For adding metallic accents.
2.4. Tools For Nail Extensions
For creating nail extensions, you’ll need:
- Acrylic Powder: For creating acrylic extensions.
- Monomer Liquid: To mix with acrylic powder.
- Acrylic Brush: For applying acrylic mixture.
- Nail Forms or Tips: To create the desired length and shape.
- Gel or Polygel: For creating gel or polygel extensions.
- Gel Brush: For applying gel or polygel.
- Tip Cutters: To trim the nail tips to the desired length.
- Nail Glue: To adhere the nail tips to the natural nails.
- Primer: To improve adhesion of the extension material.
2.5. Safety Equipment
Safety should always be a top priority. Essential safety equipment includes:
- Dust Mask: To protect against dust and fumes.
- Gloves: To protect your skin from chemicals.
- Eye Protection: To protect your eyes from splashes and debris.
- Ventilation System: To ensure proper airflow and reduce exposure to harmful fumes.
3. What Are The Different Types Of Nail Extensions And How To Apply Them?
Different types of nail extensions include acrylic, gel, and polygel. Each type has unique application methods, advantages, and disadvantages.
3.1. Acrylic Nail Extensions
Acrylic extensions are durable and long-lasting, making them a popular choice.
Application Steps:
- Preparation: Prepare the natural nails by shaping, buffing, and applying primer.
- Tip Application: Apply nail tips using nail glue, and trim to the desired length.
- Acrylic Application: Dip the acrylic brush into monomer liquid, then into acrylic powder to create a small bead.
- Application to Nail: Apply the acrylic bead to the nail, starting at the cuticle area and blending towards the free edge.
- Shaping and Filing: Shape the acrylic using a file and buffer.
- Finishing: Apply a top coat for shine and protection.
3.2. Gel Nail Extensions
Gel extensions offer a natural look and are less damaging to the natural nails.
Application Steps:
- Preparation: Prepare the natural nails by shaping, buffing, and applying primer.
- Form or Tip Application: Apply nail forms or tips to the natural nails.
- Gel Application: Apply a layer of builder gel to the nail, extending it over the form or tip.
- Curing: Cure the gel under a UV/LED lamp for the recommended time.
- Shaping and Filing: Shape the gel using a file and buffer.
- Finishing: Apply a gel top coat for shine and protection, and cure again.
3.3. Polygel Nail Extensions
Polygel extensions combine the best of acrylic and gel, offering ease of application and durability.
Application Steps:
- Preparation: Prepare the natural nails by shaping, buffing, and applying primer.
- Form or Tip Application: Apply nail forms or tips to the natural nails.
- Polygel Application: Squeeze a small amount of polygel onto the nail.
- Shaping: Use a brush dipped in slip solution to mold the polygel into the desired shape.
- Curing: Cure the polygel under a UV/LED lamp for the recommended time.
- Shaping and Filing: Shape the polygel using a file and buffer.
- Finishing: Apply a gel top coat for shine and protection, and cure again.
4. What Are The Best Techniques For Creating Nail Art Designs?
The best techniques for creating nail art designs include stamping, freehand painting, using decals and stickers, and adding glitters and embellishments.
4.1. Stamping Techniques
Stamping involves transferring designs from a stamping plate to the nail using a stamper and special stamping polish.
Steps for Stamping:
- Preparation: Apply a base coat and polish color to the nails.
- Apply Polish: Apply stamping polish to the desired design on the stamping plate.
- Scrape: Scrape off excess polish using a scraper tool.
- Pick Up Design: Roll the stamper over the design to pick it up.
- Transfer: Transfer the design to the nail by rolling the stamper over the nail.
- Clean Up: Clean up any excess polish with a brush and acetone.
- Seal: Apply a top coat to seal the design.
4.2. Freehand Painting Techniques
Freehand painting involves creating designs directly on the nail using fine detail brushes and acrylic paints.
Tips for Freehand Painting:
- Use High-Quality Brushes: Invest in fine detail brushes for precise lines and details.
- Practice: Practice your designs on paper before attempting them on the nails.
- Thin Layers: Apply thin layers of paint to avoid smudging.
- Steady Hand: Keep a steady hand by resting your elbow on a table.
- Seal: Apply a top coat to protect the design.
4.3. Decals And Stickers
Decals and stickers are easy to apply and offer a wide range of designs.
Application Steps:
- Preparation: Apply a base coat and polish color to the nails.
- Cut Decal: Cut out the desired decal or sticker.
- Soak: Soak the decal in water for a few seconds.
- Slide Off: Slide the decal off the backing paper.
- Apply: Apply the decal to the nail.
- Smooth: Smooth out any wrinkles or bubbles.
- Seal: Apply a top coat to seal the design.
4.4. Glitters And Embellishments
Adding glitters and embellishments can create a glamorous and eye-catching look.
Tips for Using Glitters and Embellishments:
- Apply Adhesive: Apply a thin layer of nail glue or adhesive gel to the nail.
- Place Glitter: Sprinkle glitter over the adhesive, or use a brush to apply it precisely.
- Place Embellishments: Use a wax pencil or tweezers to pick up and place rhinestones, gems, or other embellishments.
- Seal: Apply a top coat to seal the design.
5. How Do You Properly Maintain Nail Health And Prevent Damage?
Properly maintaining nail health involves regular moisturizing, avoiding harsh chemicals, and following safe removal techniques for extensions and gel polish.
5.1. Regular Moisturizing
Keeping the nails and cuticles moisturized is essential for preventing dryness and breakage.
Tips for Moisturizing:
- Apply Cuticle Oil: Apply cuticle oil daily to hydrate the cuticles.
- Use Hand Cream: Use hand cream regularly to keep the skin and nails moisturized.
- Avoid Harsh Soaps: Use gentle, moisturizing soaps.
5.2. Avoiding Harsh Chemicals
Exposure to harsh chemicals can weaken the nails and cause damage.
Tips for Avoiding Harsh Chemicals:
- Wear Gloves: Wear gloves when doing household chores or working with chemicals.
- Use Acetone Sparingly: Use acetone-based nail polish remover sparingly, as it can dry out the nails.
- Choose Non-Toxic Products: Opt for nail products that are free from harmful chemicals like formaldehyde, toluene, and DBP.
5.3. Safe Removal Techniques
Improper removal of extensions and gel polish can cause significant damage to the natural nails.
Safe Removal Techniques for Gel Polish:
- Buff Top Coat: Gently buff the top coat to break the seal.
- Soak Cotton Pads: Soak cotton pads in acetone.
- Apply to Nails: Place the cotton pads on the nails and wrap with foil or use removal clips.
- Soak for 10-15 Minutes: Allow the acetone to soak for 10-15 minutes.
- Gently Remove: Gently push off the gel polish with a cuticle pusher.
- Moisturize: Apply cuticle oil to hydrate the nails.
Safe Removal Techniques for Acrylic Extensions:
- Shorten Nails: Trim the extensions as short as possible.
- File Down: File down the acrylic to thin it out.
- Soak in Acetone: Soak the nails in acetone for 20-30 minutes.
- Gently Remove: Gently push off the softened acrylic with a cuticle pusher.
- Moisturize: Apply cuticle oil to hydrate the nails.
6. What Are Common Mistakes To Avoid When Learning To Do Nails?
Common mistakes to avoid when learning to do nails include improper preparation, applying thick layers of polish, neglecting cuticle care, and using low-quality products.
6.1. Improper Preparation
Failing to properly prepare the nails can lead to poor adhesion and premature chipping.
Tips for Proper Preparation:
- Thoroughly Clean Nails: Remove all traces of oil and debris from the nail surface.
- Gently Buff: Gently buff the nail surface to create a smooth base.
- Use Primer: Apply a primer to improve adhesion.
6.2. Applying Thick Layers Of Polish
Applying thick layers of polish can result in uneven drying, smudging, and bubbling.
Tips for Applying Thin Layers:
- Thin Coats: Apply thin, even coats of polish.
- Allow Drying Time: Allow each layer to dry completely before applying the next.
- Use Quality Polish: Use high-quality polish that is easy to apply.
6.3. Neglecting Cuticle Care
Neglecting cuticle care can lead to dry, damaged cuticles and increase the risk of infection.
Tips for Cuticle Care:
- Softening Cuticles: Use a cuticle softener to soften the cuticles before pushing them back.
- Gently Push Back: Gently push back the cuticles with a cuticle pusher.
- Avoid Cutting Too Much: Avoid cutting too much cuticle, as it can damage the nail matrix.
- Moisturize Regularly: Moisturize the cuticles regularly with cuticle oil.
6.4. Using Low-Quality Products
Using low-quality products can lead to poor results, damage to the nails, and potential health risks.
Tips for Choosing Quality Products:
- Read Reviews: Read reviews and research products before purchasing.
- Choose Reputable Brands: Choose products from reputable brands known for quality and safety.
- Check Ingredients: Check the ingredients list and avoid products that contain harmful chemicals.
7. How Can You Practice And Improve Your Nail Art Skills?
You can practice and improve your nail art skills through regular practice, taking online courses, experimenting with different techniques, and seeking feedback from others.
7.1. Regular Practice
Consistent practice is key to improving your nail art skills.
Tips for Regular Practice:
- Set Aside Time: Set aside dedicated time for practice each week.
- Start Simple: Start with simple designs and gradually work your way up to more complex ones.
- Use Practice Nails: Use practice nails or a practice hand to experiment with different techniques.
7.2. Taking Online Courses
Online courses can provide structured learning and guidance from experienced nail artists.
Benefits of Online Courses:
- Structured Learning: Provides a structured curriculum with step-by-step instructions.
- Expert Guidance: Learn from experienced nail artists and industry professionals.
- Convenience: Learn at your own pace and on your own schedule.
- Variety of Topics: Access a wide range of courses covering different nail art techniques.
LEARNS.EDU.VN offers a variety of online courses to help you master nail art techniques and enhance your skills.
7.3. Experimenting With Different Techniques
Experimenting with different techniques can help you discover new styles and approaches.
Tips for Experimenting:
- Try New Tools: Try using different brushes, dotting tools, and other nail art tools.
- Explore Different Mediums: Explore different mediums such as acrylic paints, gel polishes, and stamping polishes.
- Mix and Match: Mix and match different techniques to create unique designs.
7.4. Seeking Feedback From Others
Seeking feedback from others can provide valuable insights and help you identify areas for improvement.
Tips for Seeking Feedback:
- Share Your Work: Share your nail art creations on social media or with friends and family.
- Ask for Constructive Criticism: Ask for specific feedback on what you can improve.
- Attend Workshops: Attend workshops or classes and seek feedback from instructors and other students.
8. What Are The Latest Trends In Nail Art And Nail Technology?
The latest trends in nail art and nail technology include textured nails, minimalist designs, sustainable nail products, and advanced extension materials.
8.1. Textured Nails
Textured nails add dimension and visual interest to nail designs.
Popular Texture Techniques:
- 3D Gel: Creating raised designs using 3D gel.
- Sugar Effect: Applying a layer of glitter or sugar powder for a textured finish.
- Marbling: Creating a marbled effect using different colors of polish.
8.2. Minimalist Designs
Minimalist designs focus on simplicity and elegance.
Key Elements of Minimalist Designs:
- Simple Lines: Using thin lines and geometric shapes.
- Negative Space: Incorporating negative space into the design.
- Neutral Colors: Using neutral colors like white, beige, and gray.
8.3. Sustainable Nail Products
Sustainable nail products are becoming increasingly popular as consumers seek eco-friendly options.
Features of Sustainable Nail Products:
- Non-Toxic Formulas: Free from harmful chemicals like formaldehyde, toluene, and DBP.
- Vegan and Cruelty-Free: Made without animal-derived ingredients and not tested on animals.
- Eco-Friendly Packaging: Packaged in recyclable or biodegradable materials.
8.4. Advanced Extension Materials
Advanced extension materials offer improved durability, flexibility, and ease of application.
Examples of Advanced Materials:
- Polygel: Combining the best of acrylic and gel for a strong, lightweight extension.
- Fiberglass: Using fiberglass to create strong and flexible extensions.
- Rubber Base Gel: Providing a flexible base for gel polish and extensions.
9. How To Troubleshoot Common Nail Problems?
Troubleshooting common nail problems involves identifying the cause of the issue and implementing appropriate solutions.
9.1. Chipping Polish
Chipping polish can be caused by improper preparation, using low-quality products, or exposure to harsh chemicals.
Solutions for Chipping Polish:
- Proper Preparation: Ensure the nails are thoroughly cleaned and buffed before applying polish.
- Use Quality Products: Use high-quality base coats, polishes, and top coats.
- Apply Thin Layers: Apply thin, even layers of polish and allow each layer to dry completely.
- Protect Nails: Wear gloves when doing household chores or working with chemicals.
9.2. Lifting Extensions
Lifting extensions can be caused by improper preparation, poor adhesion, or trauma to the nails.
Solutions for Lifting Extensions:
- Proper Preparation: Ensure the natural nails are thoroughly prepared and primed before applying extensions.
- Use Quality Adhesives: Use high-quality nail glue or adhesive gel.
- Proper Application: Apply the extension material correctly and avoid getting it on the skin.
- Avoid Trauma: Avoid activities that could cause trauma to the nails.
9.3. Nail Infections
Nail infections can be caused by bacteria, fungi, or viruses.
Prevention and Treatment of Nail Infections:
- Maintain Hygiene: Practice proper hand hygiene and sanitize tools and surfaces.
- Avoid Sharing Tools: Avoid sharing nail tools with others.
- Keep Nails Dry: Keep nails clean and dry to prevent fungal growth.
- Seek Medical Attention: Seek medical attention if you suspect a nail infection.
9.4. Brittle Nails
Brittle nails can be caused by dryness, exposure to harsh chemicals, or nutritional deficiencies.
Solutions for Brittle Nails:
- Moisturize Regularly: Apply cuticle oil and hand cream regularly.
- Avoid Harsh Chemicals: Avoid exposure to harsh chemicals and use gentle soaps.
- Stay Hydrated: Drink plenty of water to stay hydrated.
- Eat a Balanced Diet: Eat a balanced diet rich in vitamins and minerals.
10. How Can LEARNS.EDU.VN Help You Master Nail Art?
LEARNS.EDU.VN can help you master nail art through comprehensive courses, expert guidance, and a supportive community.
10.1. Comprehensive Courses
LEARNS.EDU.VN offers a variety of comprehensive courses covering all aspects of nail art, from basic techniques to advanced designs.
Course Topics Include:
- Nail Anatomy and Hygiene
- Basic Manicure Techniques
- Gel Polish Application
- Nail Art Techniques
- Nail Extension Methods
- Troubleshooting Nail Problems
10.2. Expert Guidance
Our courses are taught by experienced nail artists and industry professionals who provide expert guidance and support.
Benefits of Expert Guidance:
- Step-by-Step Instructions: Learn through clear, step-by-step instructions and demonstrations.
- Personalized Feedback: Receive personalized feedback on your work.
- Industry Insights: Gain insights into the latest trends and techniques in the nail industry.
10.3. Supportive Community
Join a supportive community of fellow nail enthusiasts to share ideas, ask questions, and get inspired.
Benefits of a Supportive Community:
- Networking: Connect with other nail artists and industry professionals.
- Inspiration: Get inspired by the work of others.
- Support: Receive support and encouragement from fellow learners.
At LEARNS.EDU.VN, we are committed to helping you achieve your nail art goals. Whether you are a beginner or an experienced nail artist, our courses and resources can help you enhance your skills and create stunning nail designs.
Ready to start your nail art journey? Visit LEARNS.EDU.VN today to explore our courses and resources. For more information, contact us at 123 Education Way, Learnville, CA 90210, United States, or call us at +1 555-555-1212. You can also reach us via WhatsApp at +1 555-555-1212. Start creating beautiful nails with the expert guidance available at LEARNS.EDU.VN.
FAQ About Learning How to Do Nails
1. How Long Does It Take To Learn Basic Nail Techniques?
It typically takes a few weeks to a few months to learn basic nail techniques, depending on your dedication and practice.
2. What Is The Best Way To Practice Nail Art At Home?
The best way to practice nail art at home is to use practice nails, watch tutorials, and experiment with different designs.
3. Are Online Nail Art Courses Worth It?
Yes, online nail art courses are worth it as they provide structured learning, expert guidance, and a supportive community. learns.edu.vn offers excellent options.
4. What Are The Essential Tools For A Beginner Nail Technician?
Essential tools include nail files, buffers, cuticle pushers, cuticle nippers, nail brushes, and lint-free wipes.
5. How Can I Prevent Nail Infections When Doing Nails?
Prevent nail infections by maintaining proper hygiene, sanitizing tools, and avoiding sharing tools with others.
6. What Are The Benefits Of Using Gel Polish?
Gel polish offers durability, shine, and long-lasting color compared to regular nail polish.
7. How Do I Properly Remove Gel Polish Without Damaging My Nails?
Properly remove gel polish by buffing the top coat, soaking cotton pads in acetone, applying them to the nails, and gently pushing off the gel after 10-15 minutes.
8. What Are The Latest Trends In Nail Art Designs?
Latest trends include textured nails, minimalist designs, and sustainable nail products.
9. How Can I Keep My Nails Healthy And Strong?
Keep your nails healthy and strong by moisturizing regularly, avoiding harsh chemicals, and eating a balanced diet.
10. Where Can I Find High-Quality Nail Art Supplies?
You can find high-quality nail art supplies at reputable beauty supply stores and online retailers.